| Canard wing
started working on 13-03-06
|
 |
 |
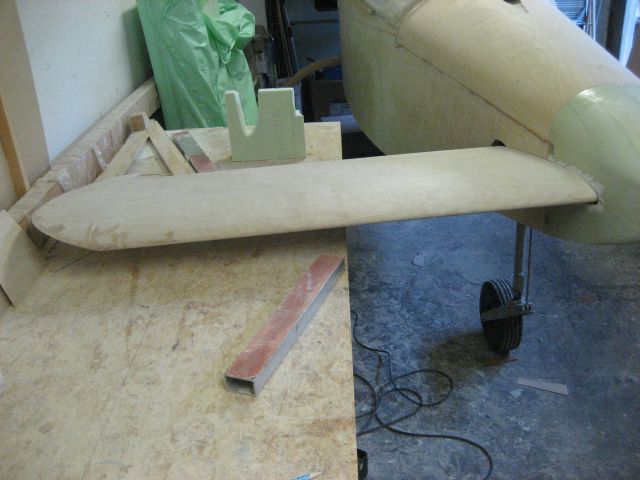
| 01-07-2007 Nice result |
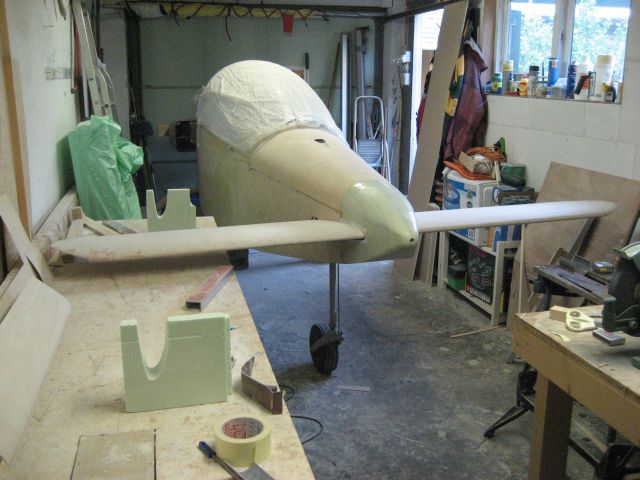
04-08-2007 Canard is
ready, filled, sanded and elevators adjusted. total weight 7,5 kg.
This gives me a total weight of 198 kg so far! (fuselage + engine +
cowlings +canard + nosecone) |
 |
 |
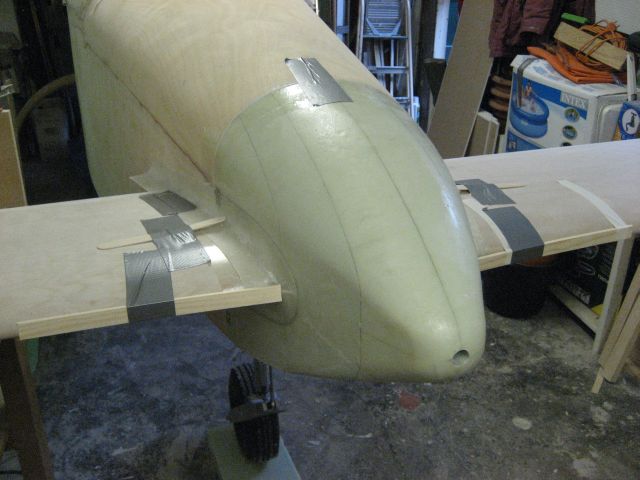
| 26-06-2007 Fairing glued to the nose cone
with flox. |
01-07-2007 Nose cone filled
and primed. |
 |
 |
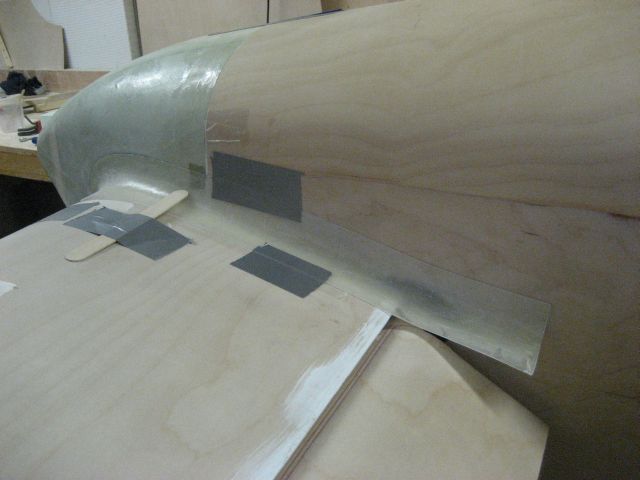
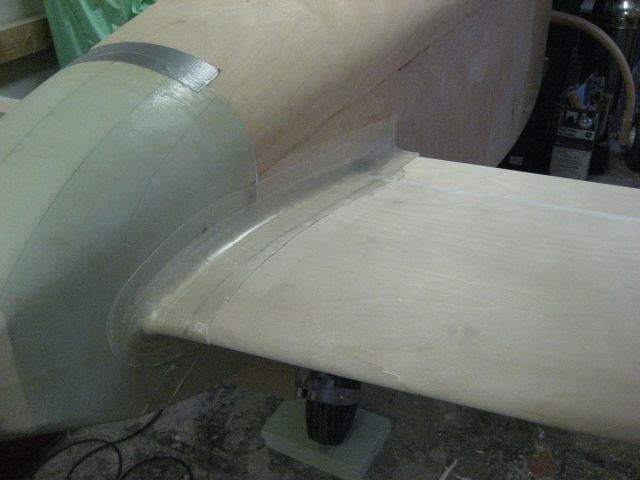
| 20-06-2007 laminating the fairing on
starboard side. |
26-06-2007 Fairing glued to
the nose cone with flox. |
 |
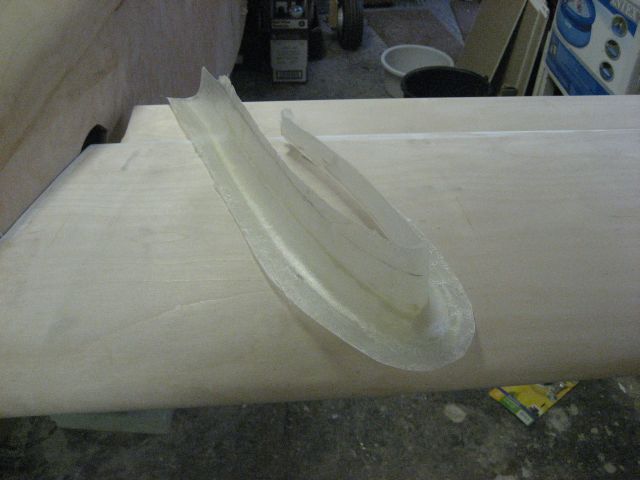 |
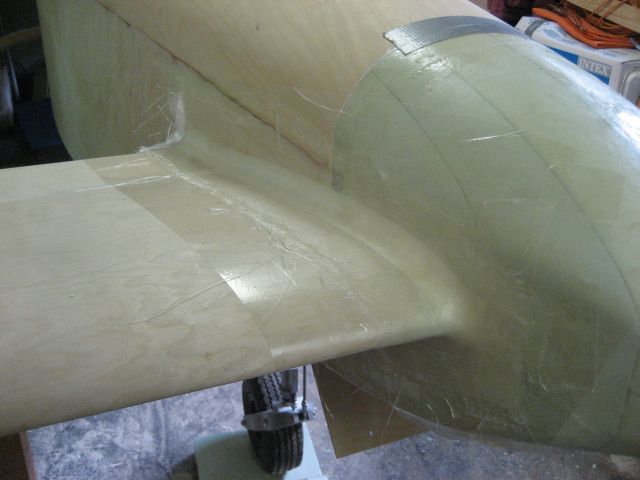
| 14-06-2007 6 layers of glass and epoxy. I
had some problems with the wax on the bondo. The epoxy came loose very
difficult. On the other side I pus some adhesive tape on the bondo
replacing the wax. |
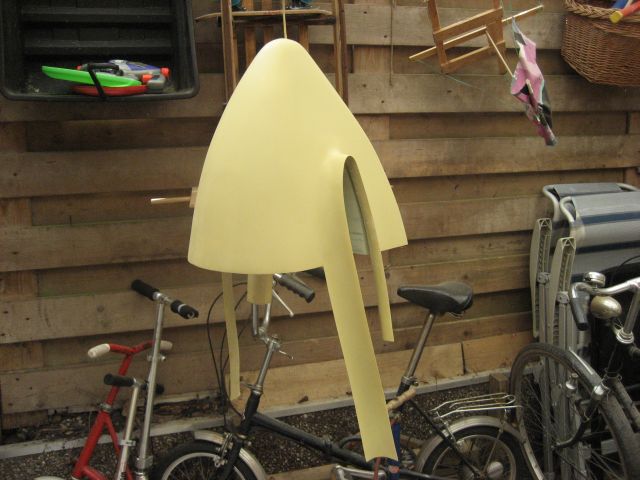
14-06-2007 fairing ready for
trimming. (and sanding the bondo off) |
 |
 |
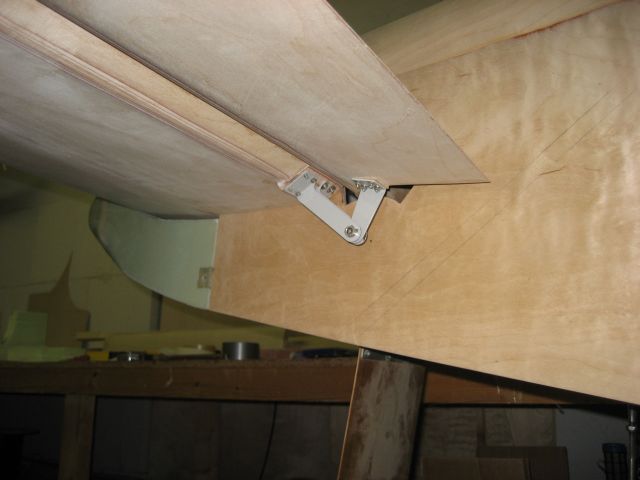
| 29-05-07 Aligning the elevator hinges, |
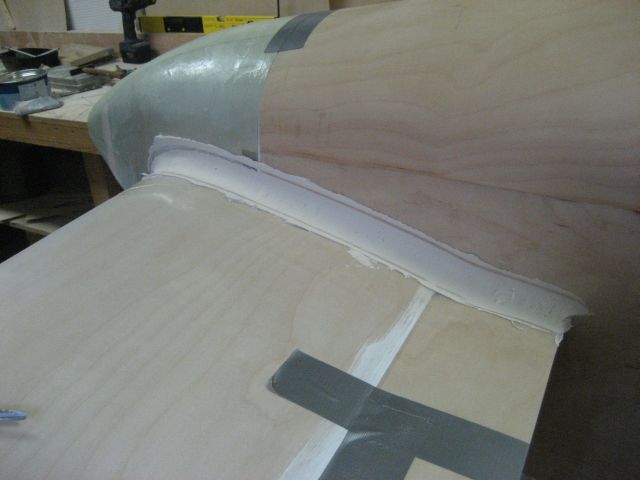
14-06-2007 Canard fairing.
First I put some adhesive tape on the surfaces. After that I put the bondo
on with a drainpipe |
 |
 |
| 29-05-07 Aligning the elevator hinges,
and hole in fuselage |
29-05-07 Hole is to big, due
to early mistake. I leave it this way, and cover up with the fairing. |
 |
 |
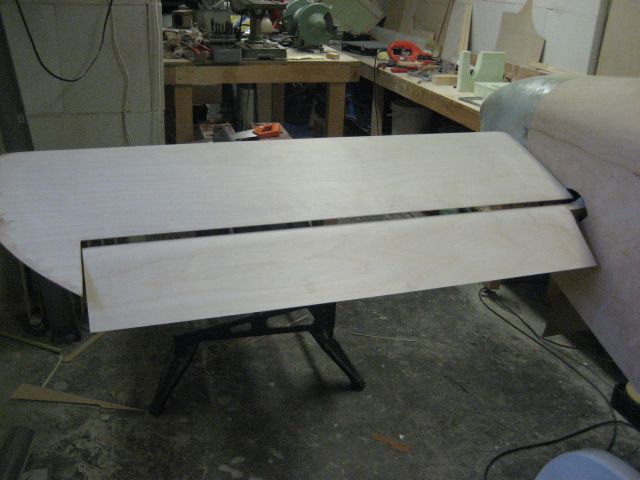
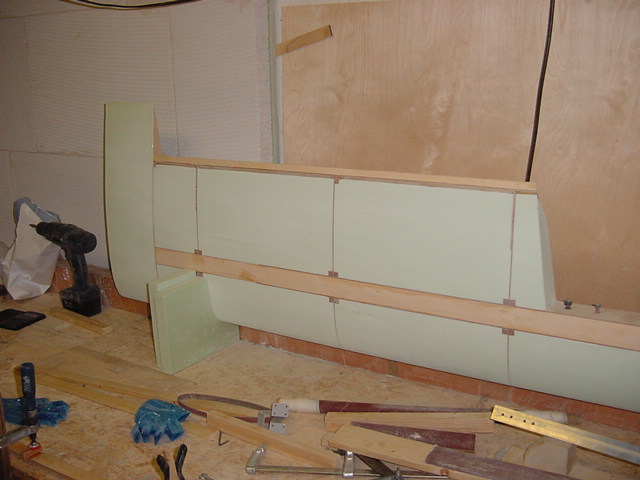
| 22-05-07 Wow looks like a
plane!!! |
22-05-07 Detail on the wing. |
 |
 |
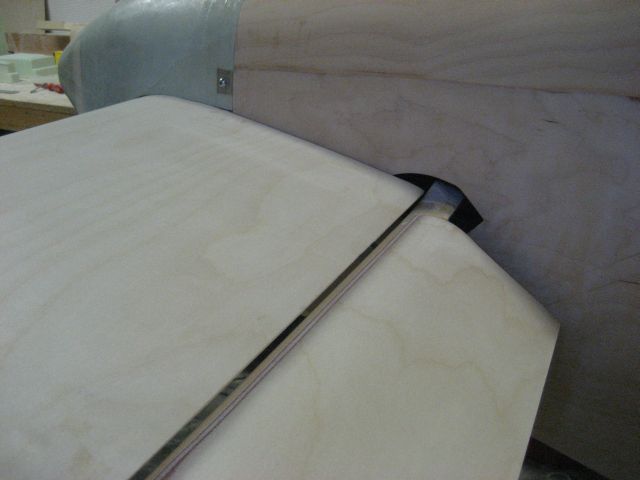
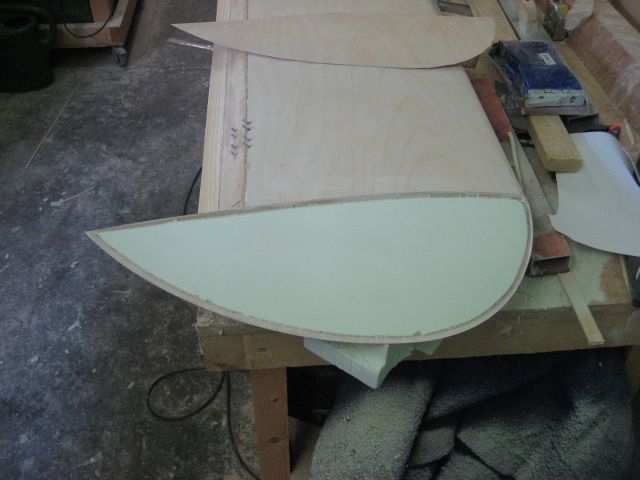
| 22-05-07 Tips glued and sanded. (downside) |
22-05-07 Tips glued and
sanded. (downside) |
 |
 |
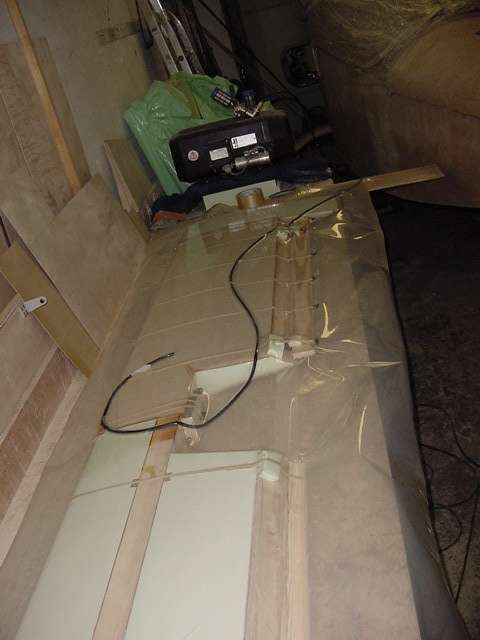
| 12-05-07 Vacuum bagging the canard skin |
19-05-07 Forming the canard
tips, cutting away the foam on the edges to fill with epoxy flox. |
 |
 |
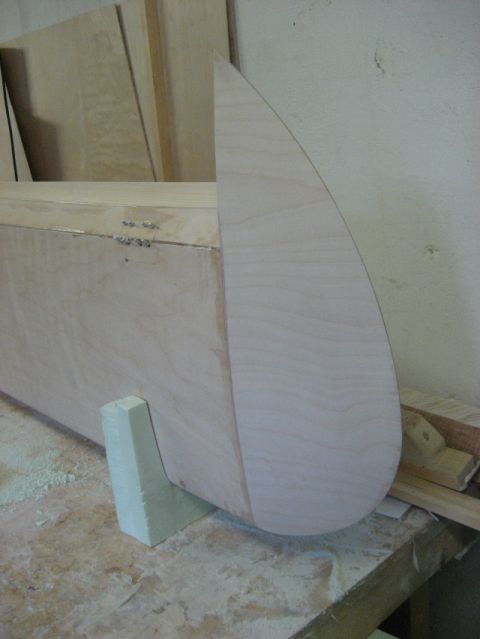
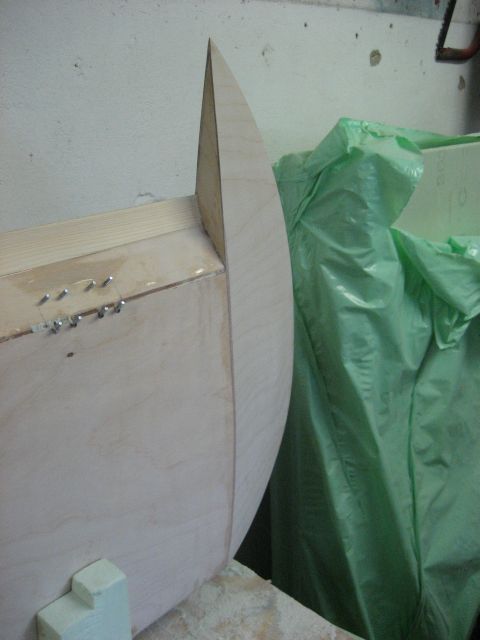
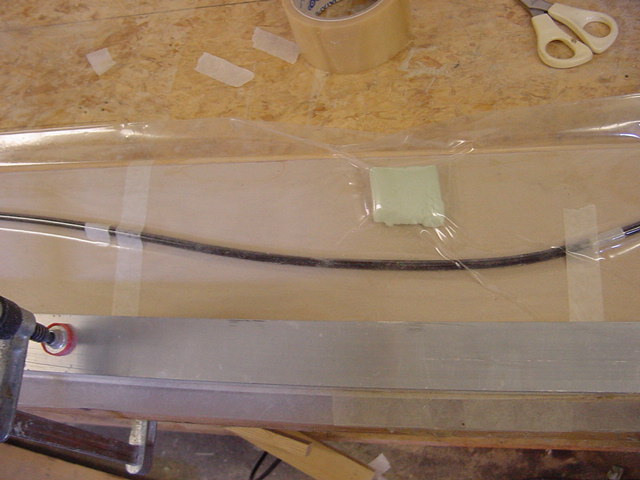
| 08-05-07 Plywood wetting to form the
canard LE!!! |
08-05-07 Plywood drying to
form the canard LE on 22mm tube. |
 |
 |
| 28-04-07 Elevator vacuum bagging. I put 4
pieces of foam on the M3 ends to protect the bag. |
01-05-07 Elevator sanded and
hinges alligned. Elevator ready for painting!!! |
 |
 |
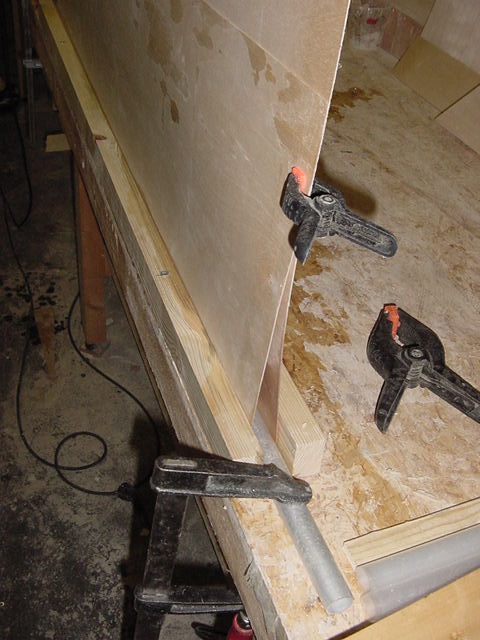
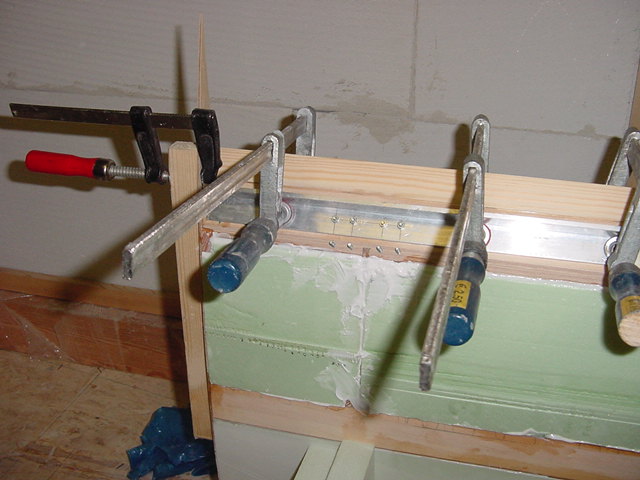
| 25-03-07 Elevator foam sanded, I have two
very heavy arms now! |
28-04-07 Elevator vacuum
bagging top skin. The clamps keeps the elevator straight on the table. I
glued the bottom side a few days before. |
 |
 |
| 24-03-07 Elevator filled with foam |
24-03-07 Elevator filled
with foam both sides! |
 |
 |
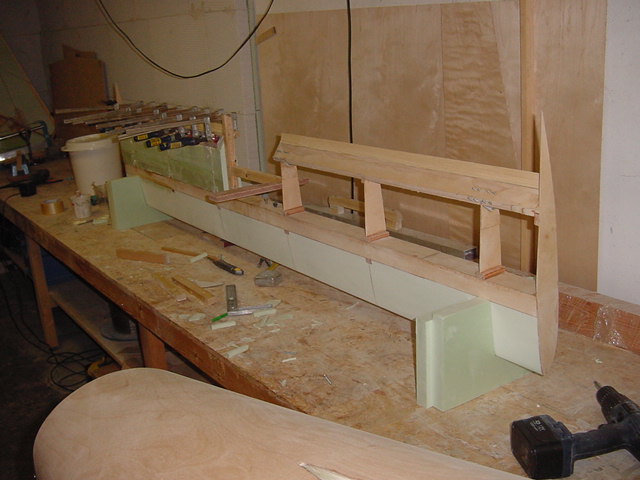
| 18-03-07 Shaping elevator spar, and
glueing first ribs |
18-03-07 Detail on the inner
rib |
 |
 |
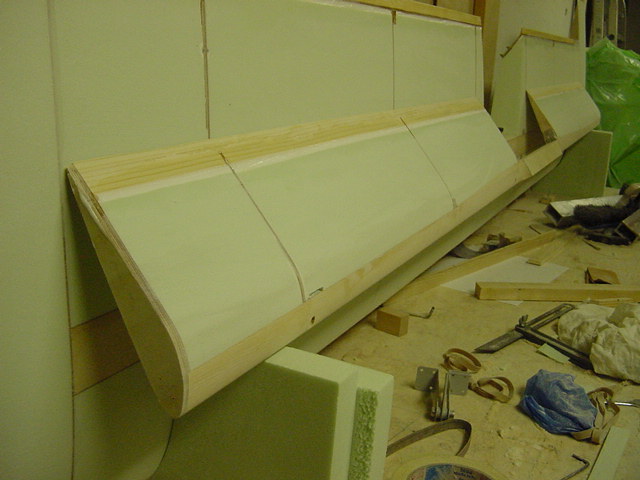
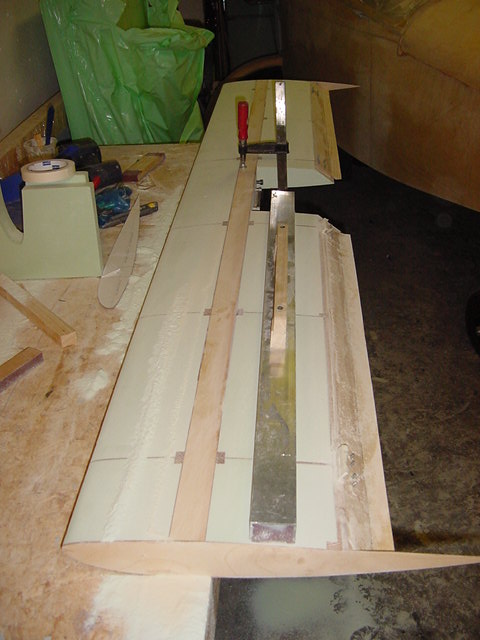
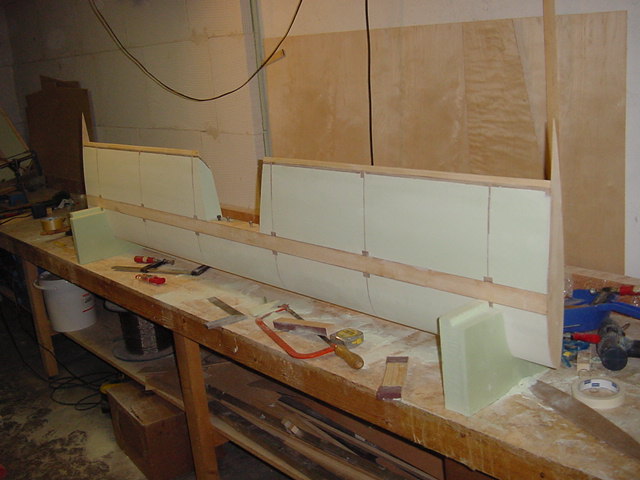
| 13-03-07 Sanding the foam. |
18-03-07 Applied the tips,
and sanded in to shape |
 |
 |
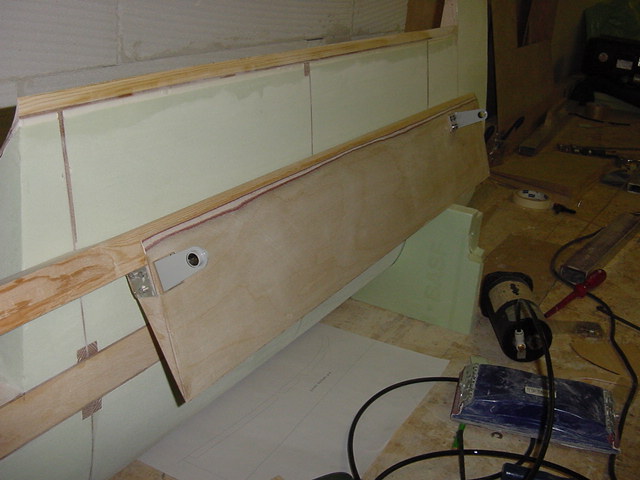
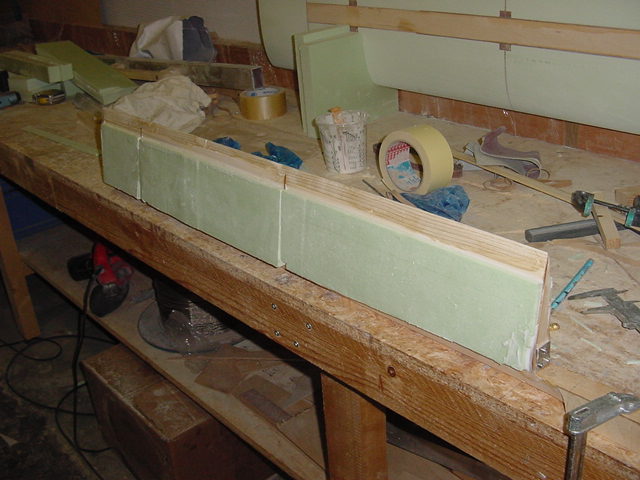
| 10-03-07 Canard foam glueing. Leading
edge already done |
13-03-07 Canard foam sanded,
tips to go |
 |
 |
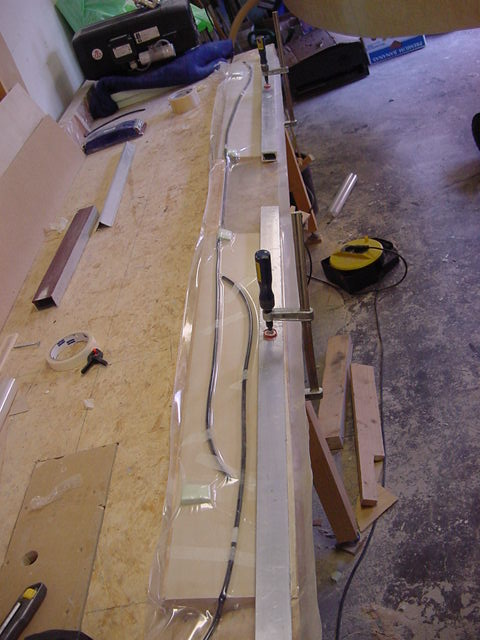
| 10-03-07 Canard foam glueing. Leading
edge already done |
10-03-07 Canard foam glueing.
Leading dege already done. I used an alu angle to align the trailing edge.
Thise alu angle is fixed by the hinge bolts. |
 |
|
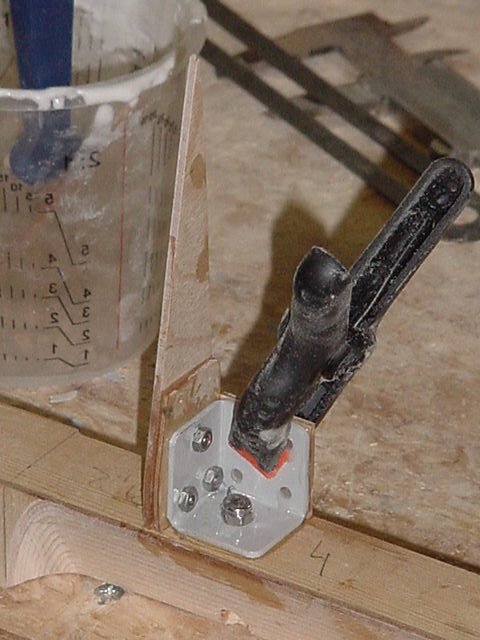
| 16-02-07 Nutplates ready to glue on the
spar. |
|
 |
 |
| 16-02-07 Testfit canard on fuselage. I
sanded the bed on 3% |
16-02-07 There is where the
mistake was made!!!!! I forgot the 3% when I traced the hole a few months
ago!. I have to remove the inner construction, and make a new hole :-( . I
dit a test with a heatgun today to heatup a piece of ply with a stick
glued on. I heated it up until the epoxy lost strength. It was a succes,
The ply was ok, and the stick came loose. I will do the same on the
hole inner construction, |
 |
 |
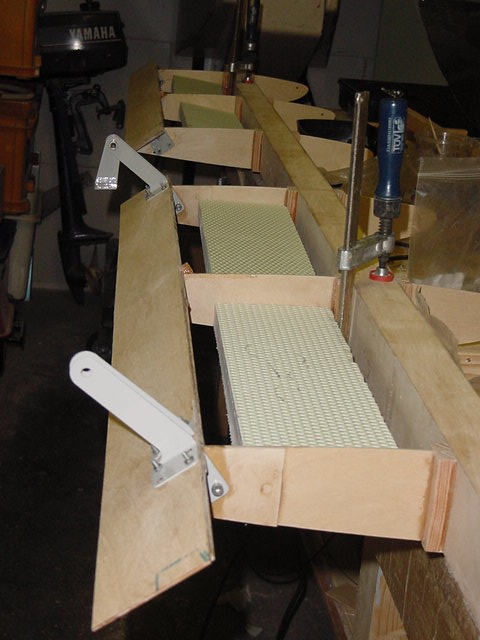
| 28-03-06 Testfit the hinges on the
trailing edge. Ribs already glued in place. |
18-04-06 Ready to receive
some foam! Sanding of spar and trailing edge done. |
 |
 |
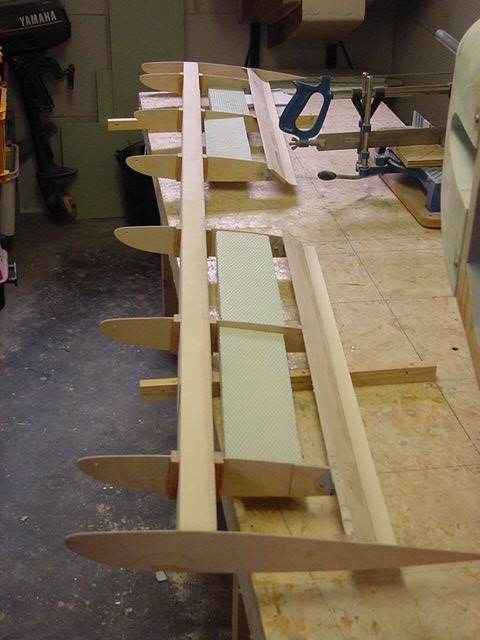
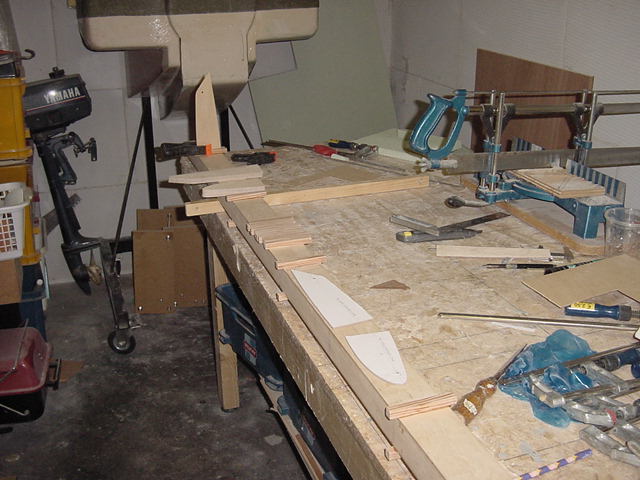
| 13-03-06 Glued the rib support blocks on
the spar front and back |
14-03-06 Made the ribs today
and testfitting on the spar back. Ribs where made by printing the outline
on paper, glueing the paper on a piece of hardboard, and sanding the board
togetter with 6 pcs of plywood to the printed line. It took me 1 hour to
make 12 half ribs. Planning to make the 2 outer ribs the same way. |
 |
 |
| canard spar before closing (
tnx Tony) |
closed canard spar and
elevator spar |
|
|
|
|
|
|
|
|
|
|
|
|
|
|