|
Fuselage started june 2003!
|
 |
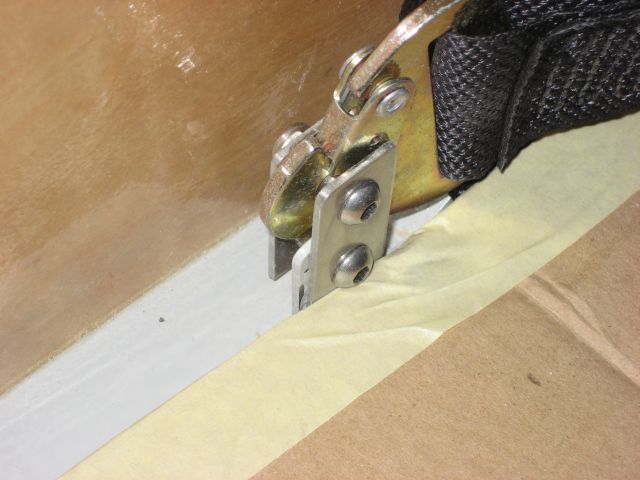 |
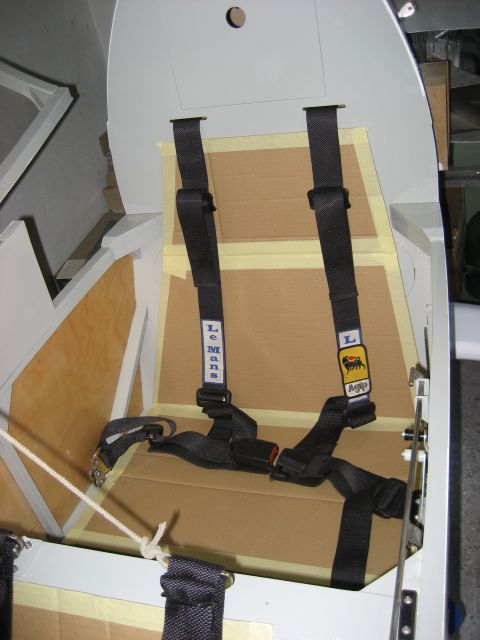
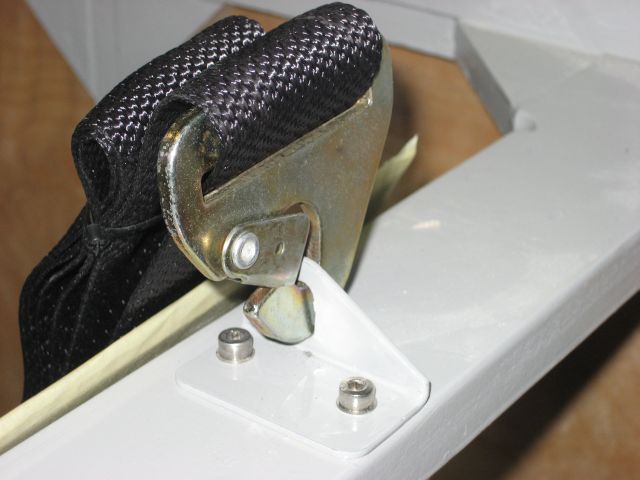
| 9-02-08 Backseat safetybelt |
9-02-08 Backseat safetybelt lower
mounting point. |
 |
|
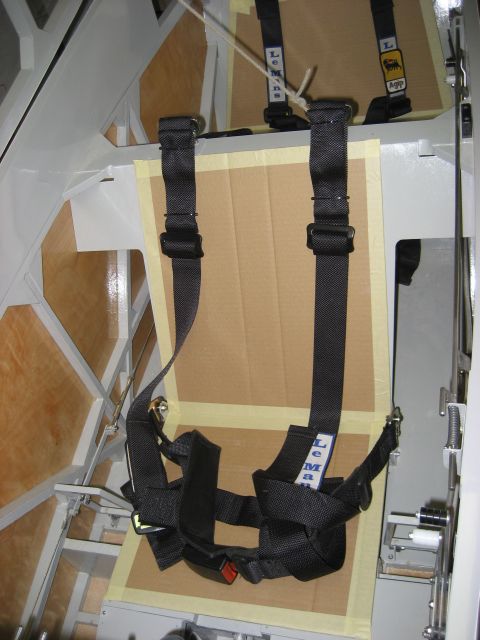
| 9-02-08 Frontseat safetybelt, template
for upholstery
|
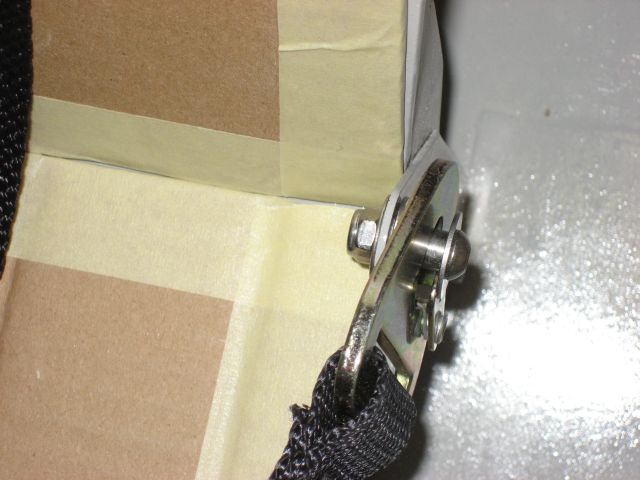
9-02-08 Frontseat safetybelt upper and
lower mounting point. |
 |
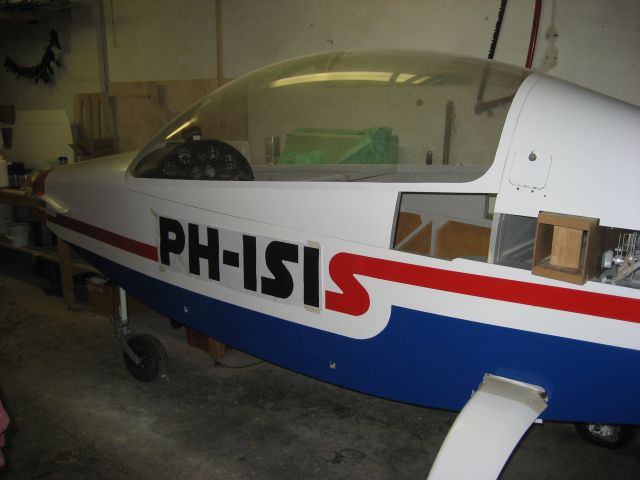 |
| 27-01-08 After painting the colours (one
side only, for now) |
27-01-08 After painting the colours Yes,
PH-ISI !!!! |
 |
 |
| 25-10-07 first layers of paint on the
hull. I have to paint everything before I start with the mainwing. All
parts and fuselage are stored in an other location in a poor controlled
enviroment. |
27-01-08 Before painting the colours |
 |
 |
| 25-10-07 first layers of paint on the
hull. I have to paint everything before I start with the mainwing. All
parts and fuselage are stored in an other location in a poor controlled
enviroment. |
25-10-07 first layers of paint on the
hull. I have to paint everything before I start with the mainwing. All
parts and fuselage are stored in an other location in a poor controlled
enviroment. |
 |
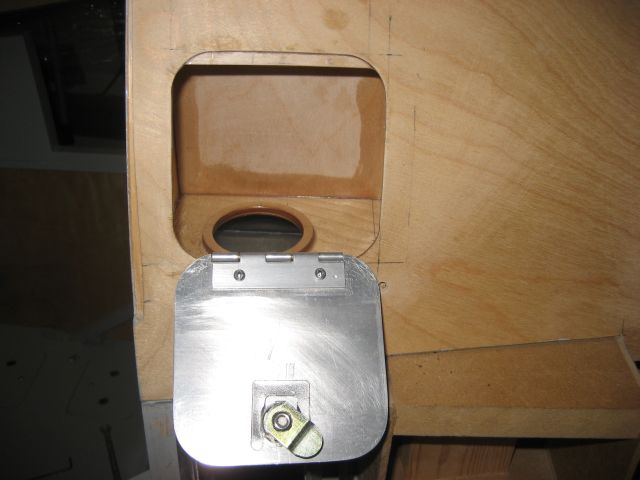 |
| 25-08-07 Filler cap in luggage
compartment ready. |
25-08-07 Filler cap in luggage
compartment ready. |
 |
 |
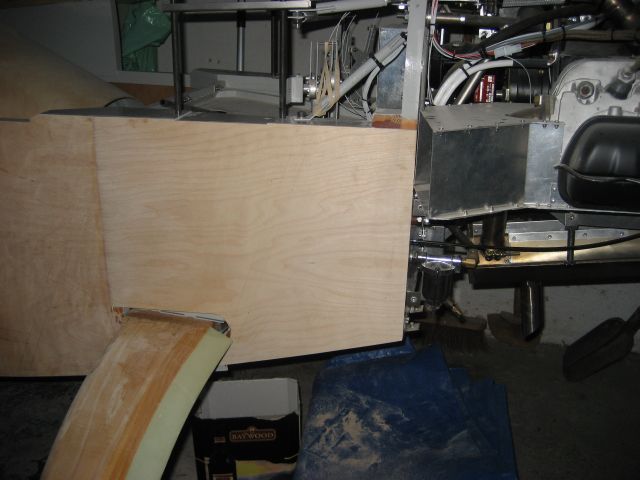
| 11-08-07 Last panel glued in the fuselage
on both sides. The fuselage is now ready for painting. |
23-08-07 Filler cap in luggage
compartment. JC talked me off the wing mounted filler cap. (drain hole to
make) |
 |
 |
| 10-04-07 Inspection door front fuselage
is ready. |
10-04-07 Inspection panels on passenger
seat are fixed with a alu spring plate.. |
 |
 |
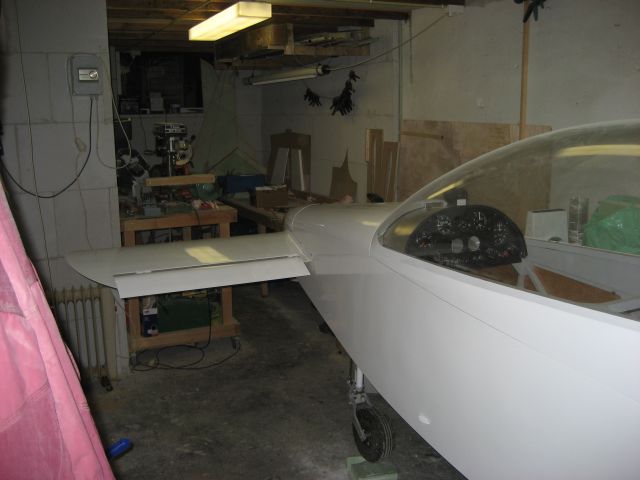
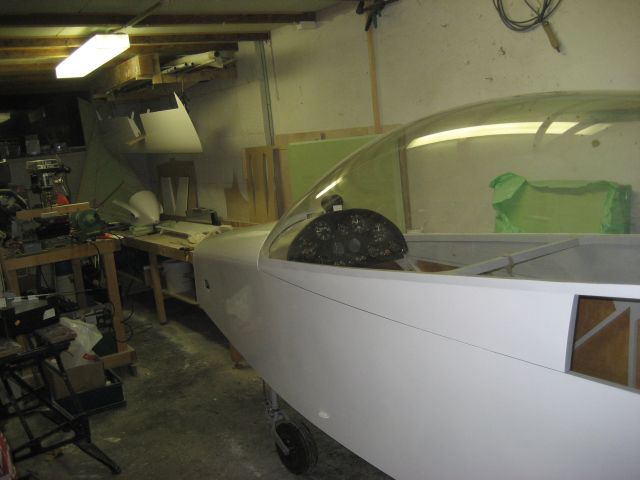
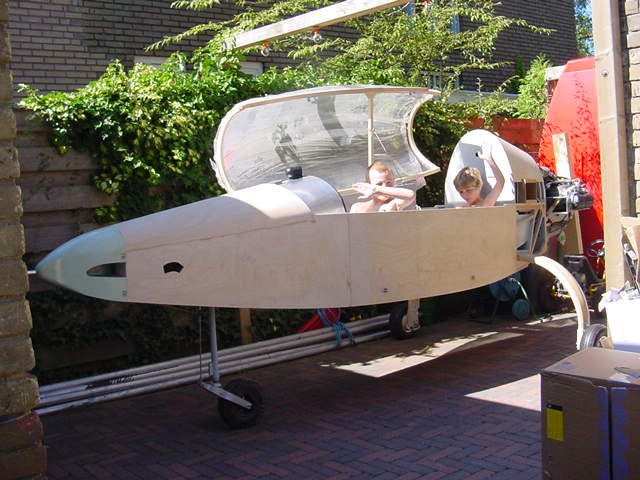
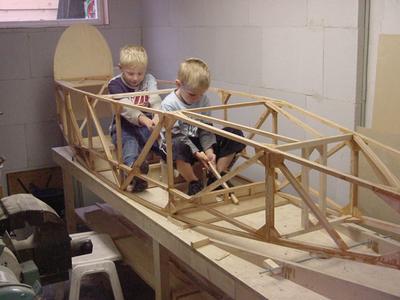
| 1-10-06 Fuselage is closed and on its
wheels. My 2 kids test the seating. Rolled out the fuselage to clean
up the workshop. |
10-04-07 Connection plate for mainwing
stabilizer bar. |
 |
 |
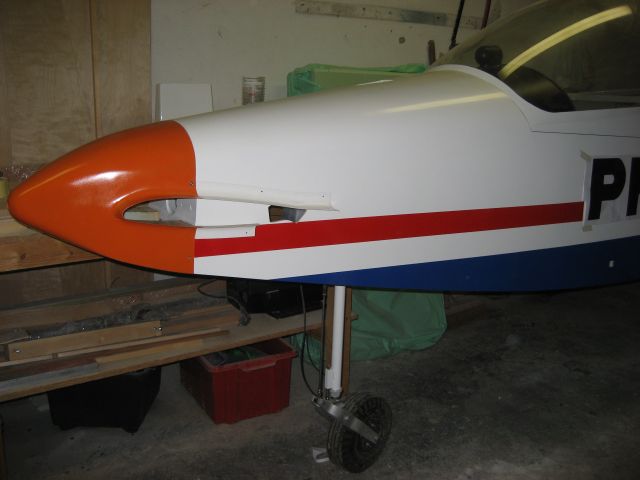
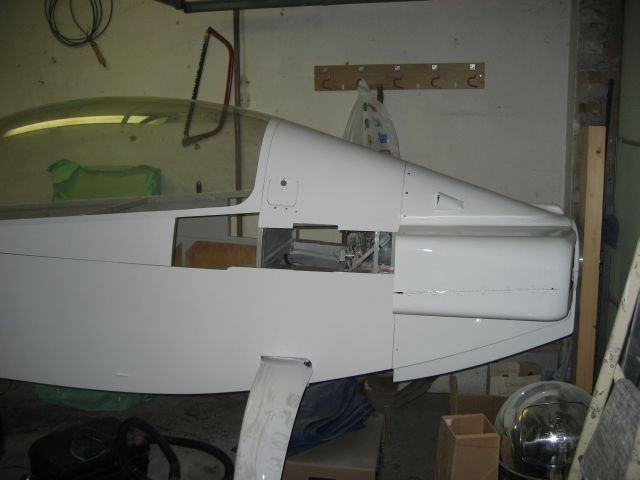
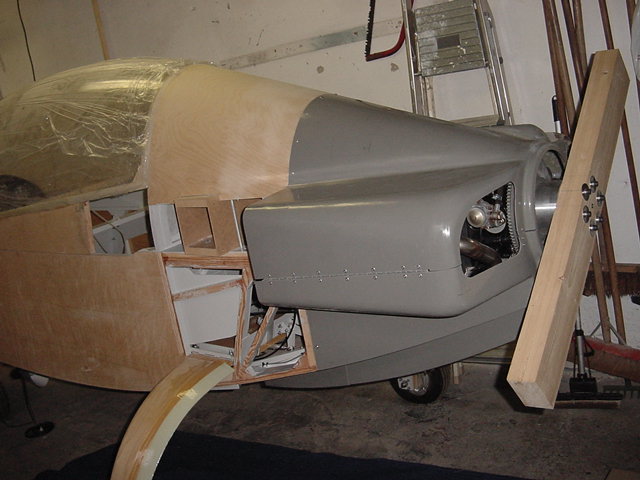
| 1-10-06 Fuselage is closed and on its
wheels! Side view on cowling. |
1-10-06 Fuselage is closed and on its
wheels! Side view on air duct (need some sanding and filling( |
 |
 |
| 27-06-06 Inside front fuselage. see hole
for elevator spar. Have to safety wire the turn buckles before closing
other side ;-) |
1-10-06 Fuselage is closed and on its
wheels! Did a W&B 10-90-90 kg total 190 kg ! |
 |
 |
| 18-04-06 Fuselage nearly ready for
closing!! Some wirering and vertical stabilizer control cables to
do. |
27-06-06 Closing fuselage.
Frontpanel fixed with staples. |
 |
 |
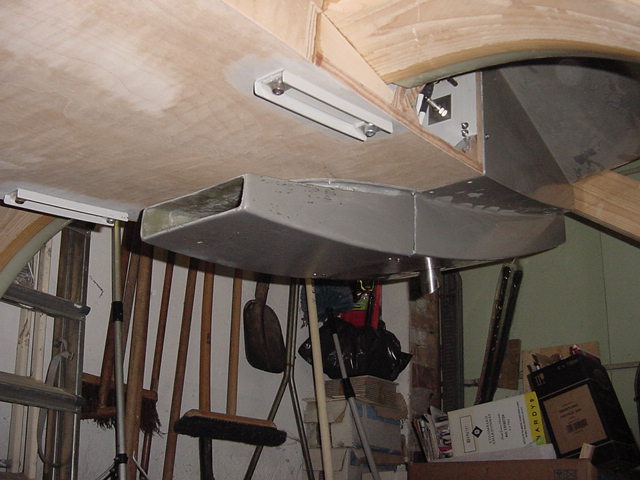
| 23-08-05 Cabin heat valve. these is
mounted inside the airduct undetneath the fuselage |
18-04-06 Fuselage nearly
ready for closing!! Some wirering and control cables to do. |
 |
 |
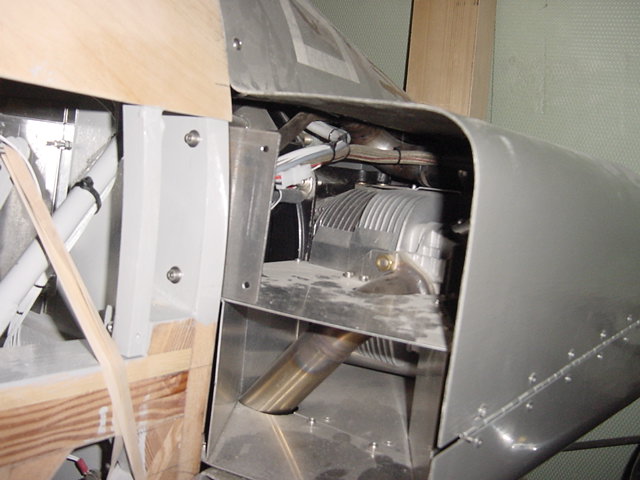
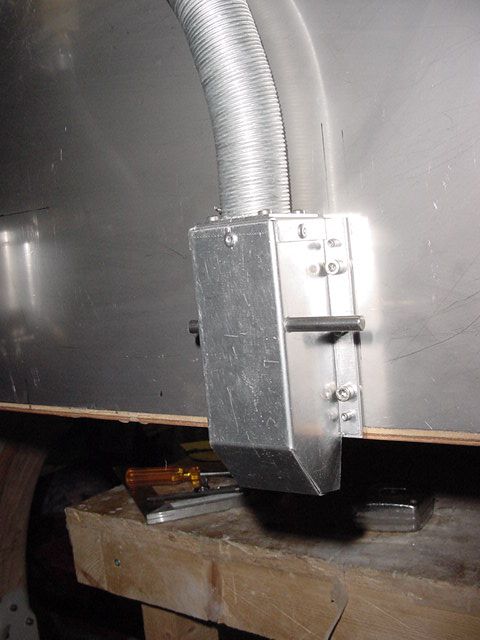
| 14-06-2005 stainless firewall with alu magnetobox,
gascolator and fuelpump. |
26-06-2005 metal parts
painted |
 |
 |
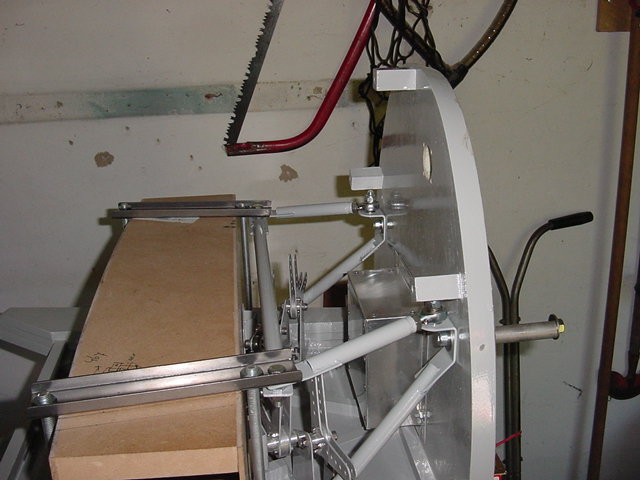
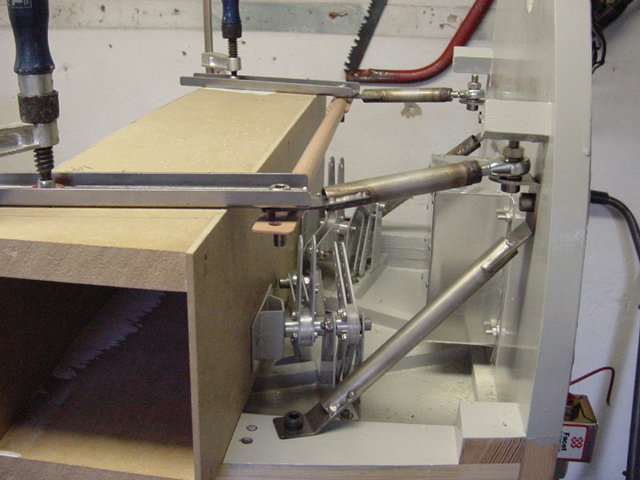
| 14-06-2005 mainspar brackets and wing controls |
14-06-2005 mainspar brackets and wing controls |
 |
 |
| 12-3-2005 The fusselage is painted inside
with PU paint. (the worst part of the project uptil now) The bottom panels
are glued, and inspection entrees made. I need to do some small things,
then the fusselage is fliped over again, and building up can start. |
03-04-05 The oil cooler
airduct plug, I will make the mould later. |
 |
 |
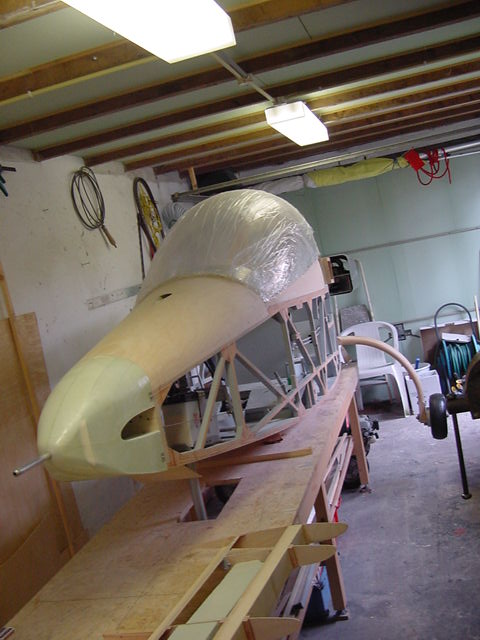
| Nuts inside the wall for canopy hinge. |
October 2004 canopy made!
testfit for all parts. Now I have to take all off and paint the inside. |
 |
 |
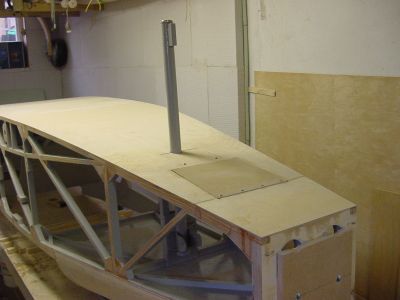
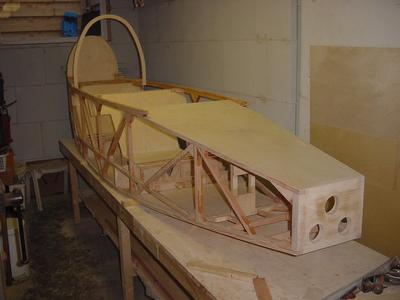
| Front deck covered with 1,5 mm ply |
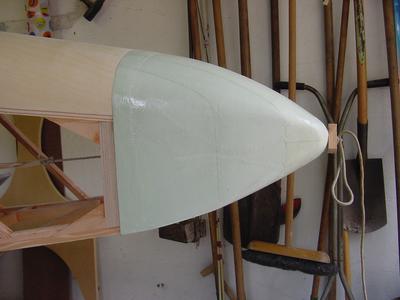
Nose cone made of foam with
glass covering. ( you can see the foam layers) |
 |
 |
| Glueing PS foam (styrodur)
for the front deck |
Front deck after sanding
ready for plywood covering. It starts to look like a plane! |
 |
|
|
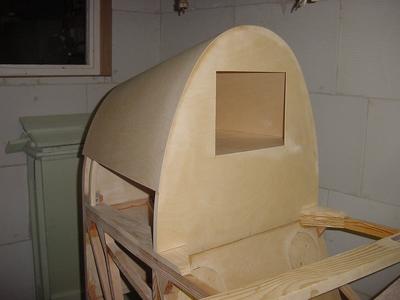
Laminating parts for canopyframe and
upper fuselage using the fuselage side as a mold for the contour.
|
Lugage compartment
|
 |
|
| Fuselage is just of the table! My
kids are ready for take off! |
Glueing seats and other
plywood parts. |
 |
 |
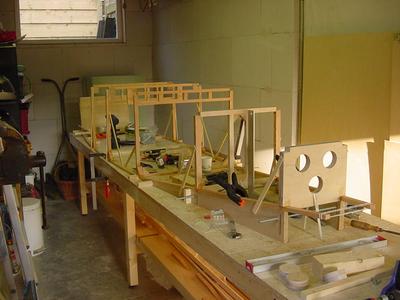
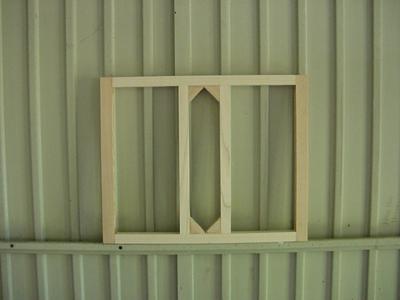
| All frames ready! Now we can built
up the fuselage |
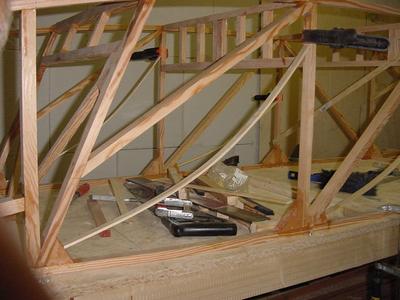
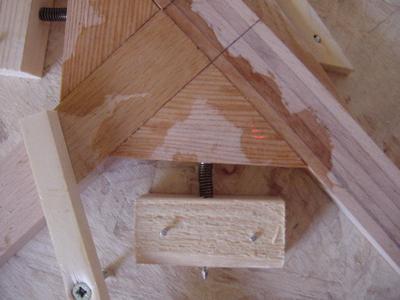
Clamping gussets using the
"bow" method. |
 |
 |
| Clamping on the table using various ways
to clamp! |
Clamping the gussets by the "nail-spring"
method. |
 |
 |
| Ready!!!! plane nearly finished!
;-) |
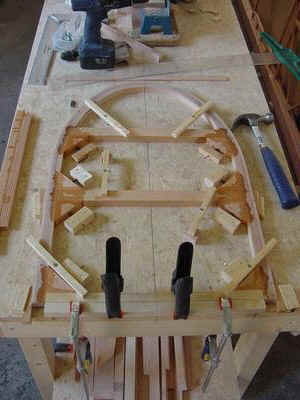
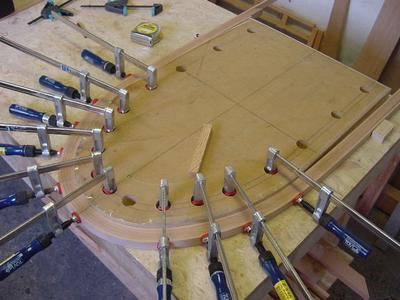
for some frames I needed wooden arcs!
These are laminated on a MDF support. The arcs for the front deck,
canopyframe and luggage compartment are made in the same way. The wood is
treated with steem to make it bent easy. |
 |
 |
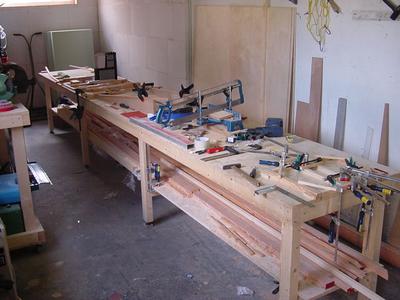
| First thing to do is making a proper
worktable. 5m long and 0,7 m wide. |
First frame on the table! The table is
covered with 50mm wide adhesive PE tape. The Epoxy will not stick to it. I
use Epoxy glue from www.polyservice.nl
|
| June 2003
The wood is arriving from the woodshop! All cut
according to the IBIS material list. Later I discovered that the list is
not that complete! |
 |