| Mainwing
Started 25-08-07 with first mainwing parts.
|
|
 |
 |
|
14-12-2009 last part fabricated!!! sanding,
painting and assembly are the only work to do. |
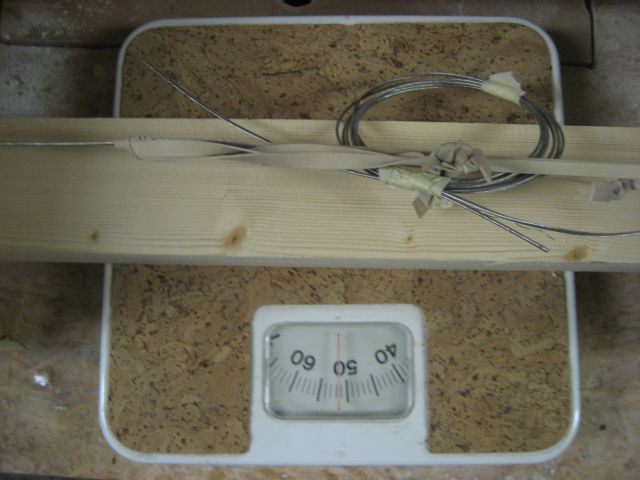
14-12-2009 total weight of the mainwing.
(without vertical stabilizers) |
 |
 |
|
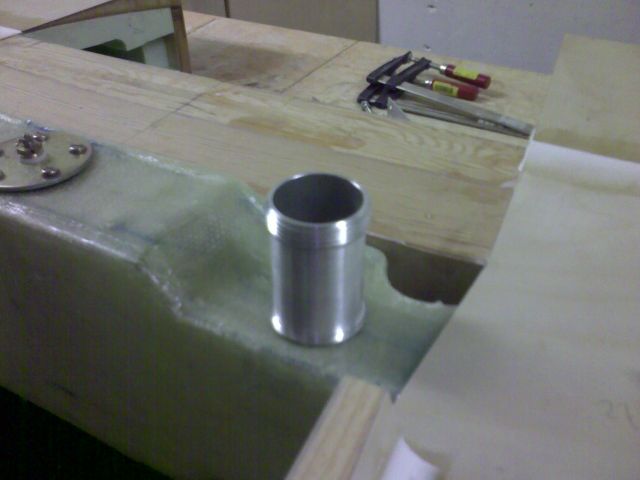
30 -11-2009 Made the fuel-cap-neck today on the
lathe, and glued in place |
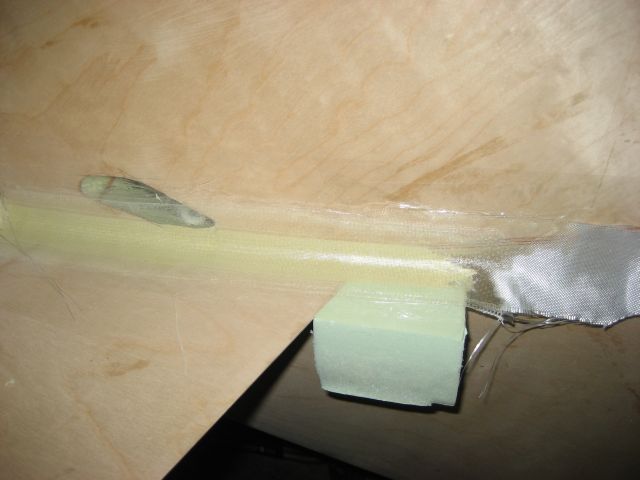
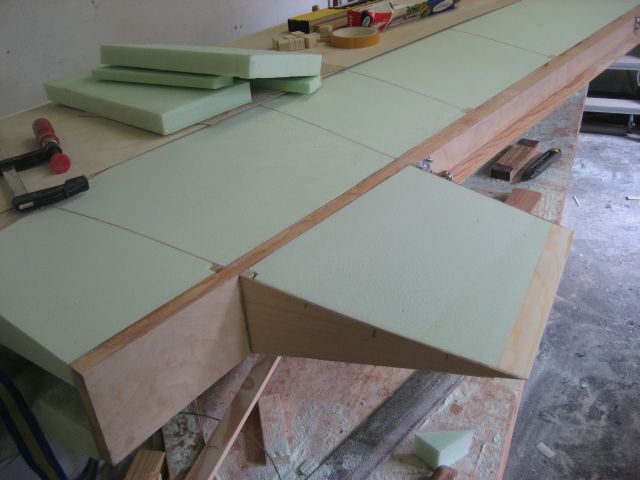
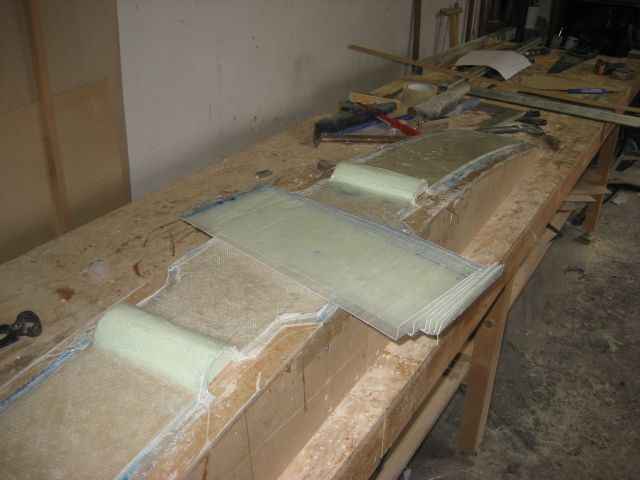
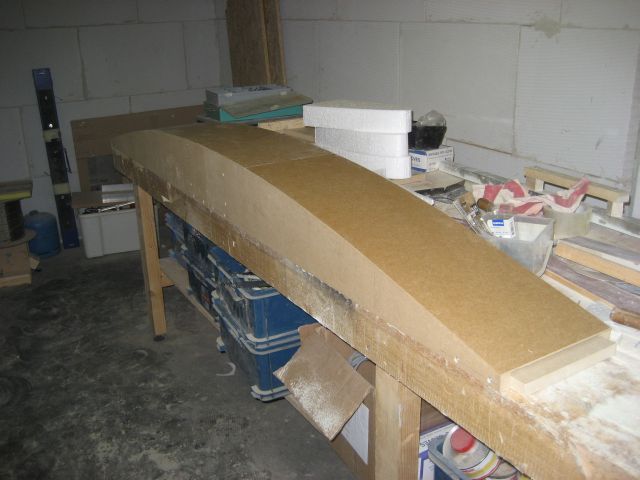
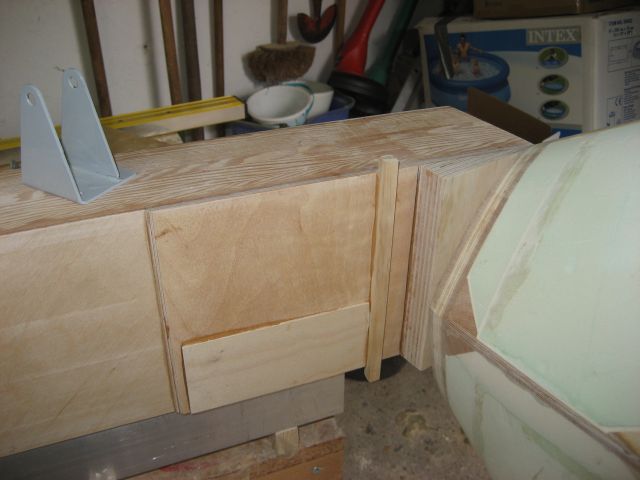
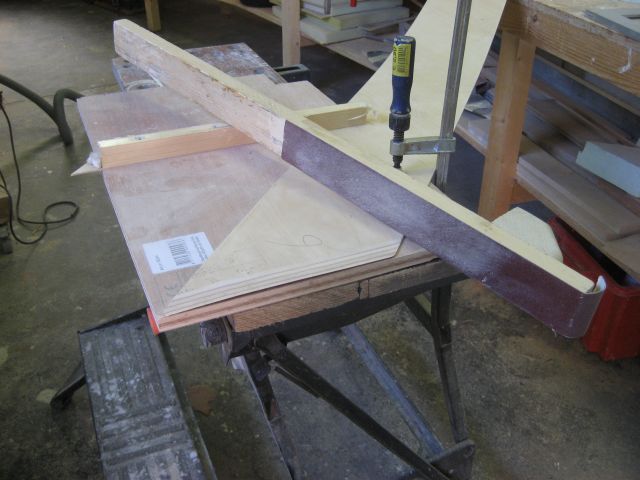
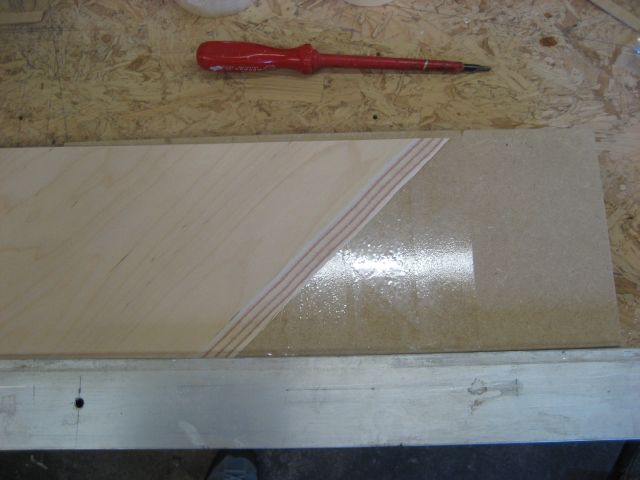
05 -12-2009 Fabricating fairings from wing to
luggage compartiment |
 |
 |
|
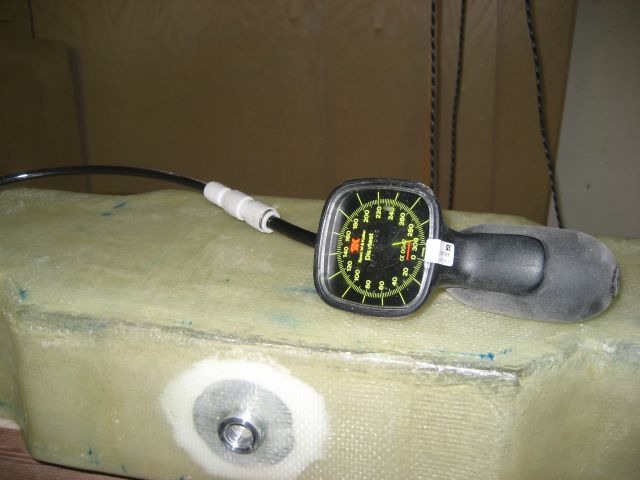
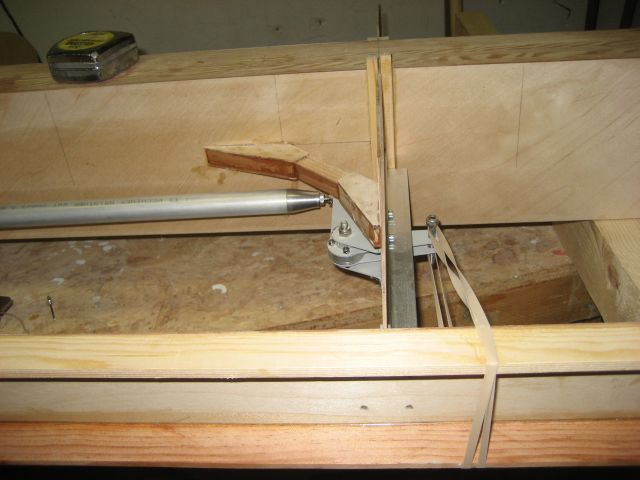
29 -11-2009 fuel sender does not fit beneeth te
luggage compartment floor. I made a hole. later I will cover it.. |
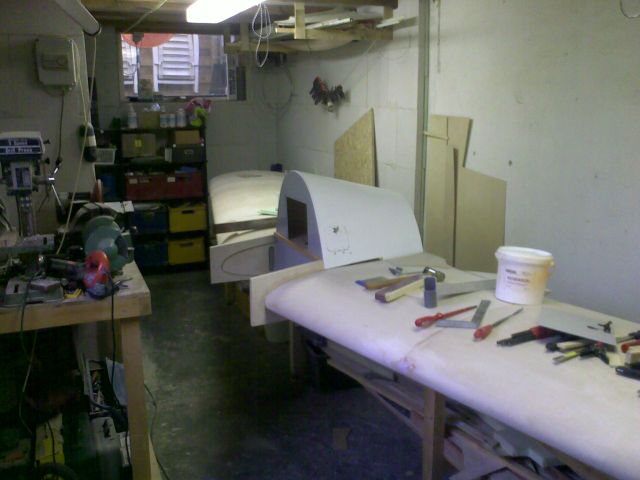
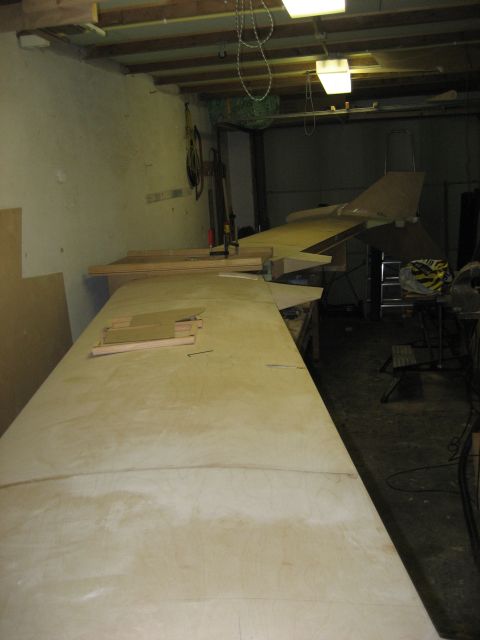
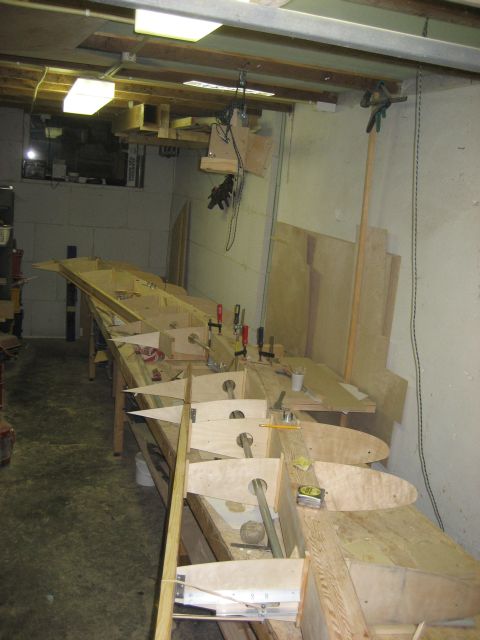
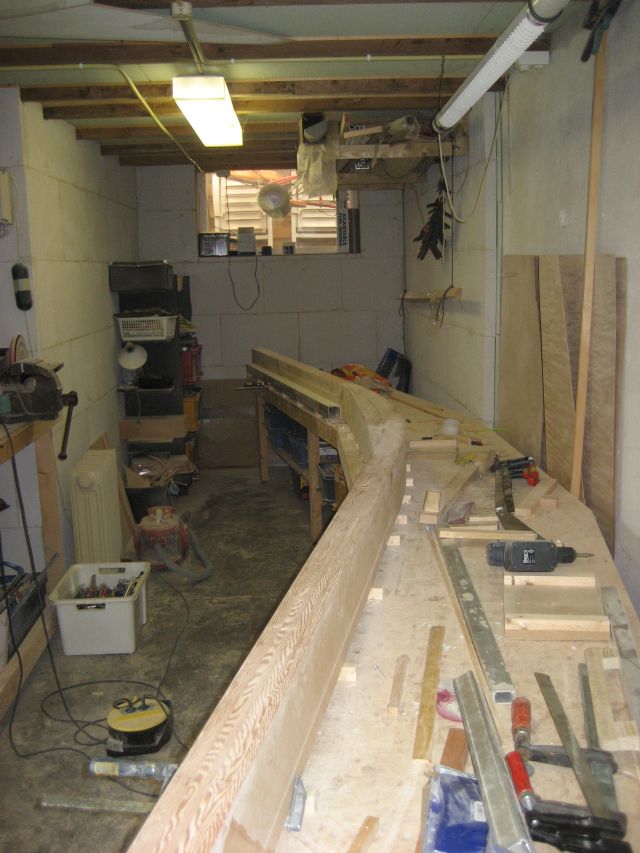
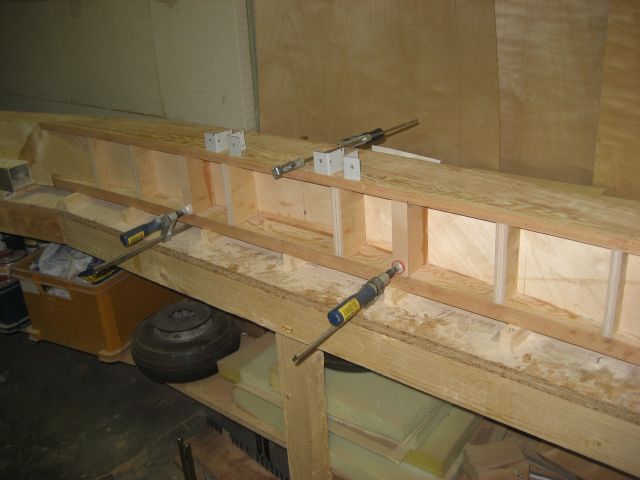
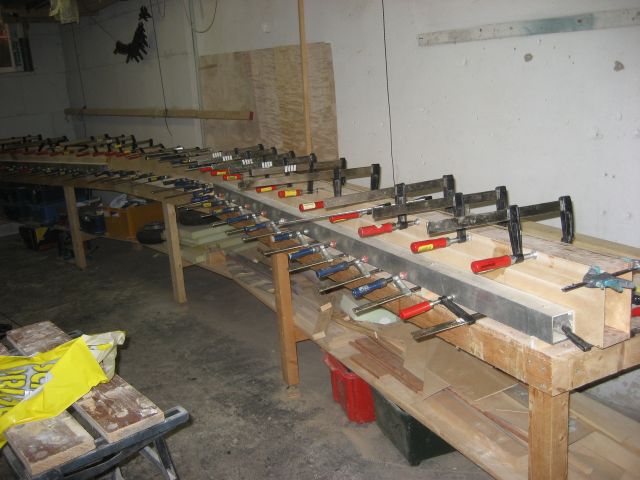
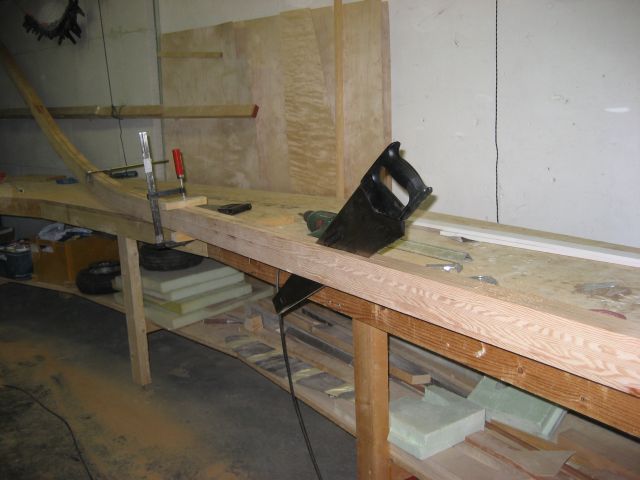
29 -11-2009 workshop overview. to do:
fairings to fuselage, fuelcap. and sanding. In januari the paintshop
has time to spray it. |
 |
 |
|
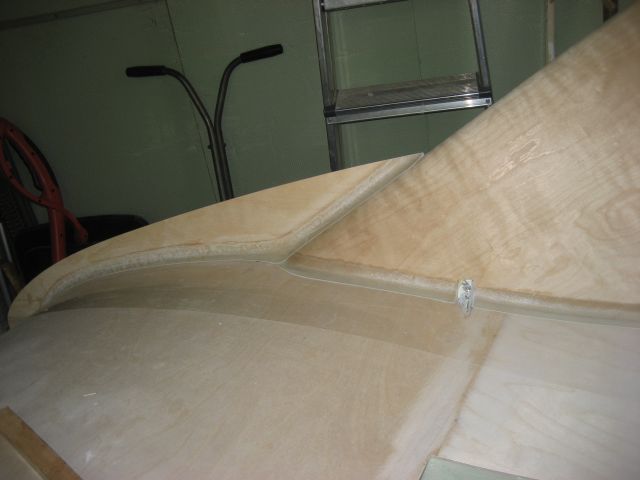
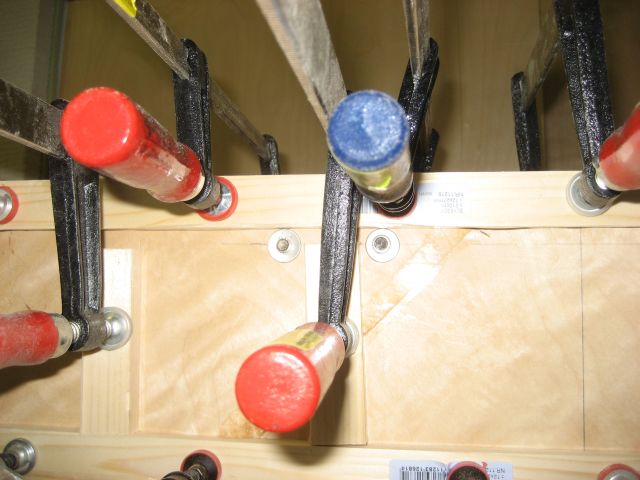
28 -11-2009 mainwing to fuselage transision, glued
in place using my fuselage dummy |
29 -11-2009 mainwing to fuselage transision, clamps
are removed. |
 |
 |
|
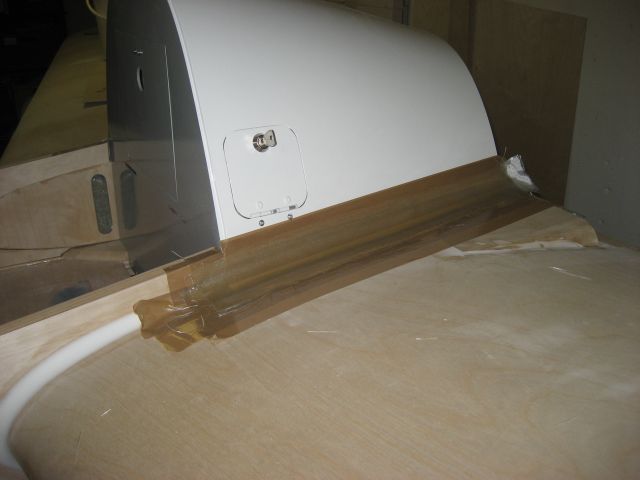
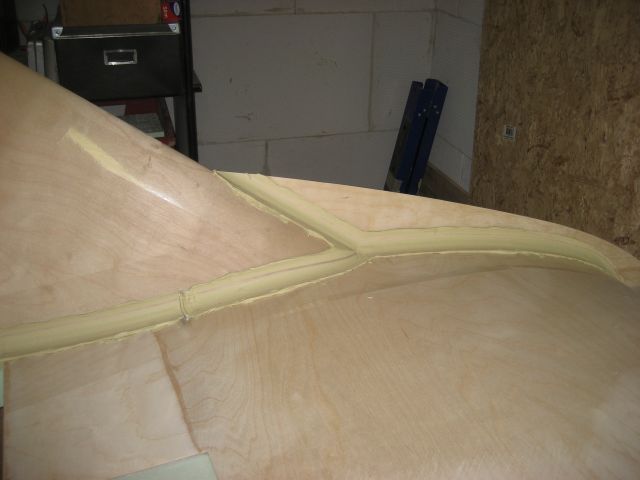
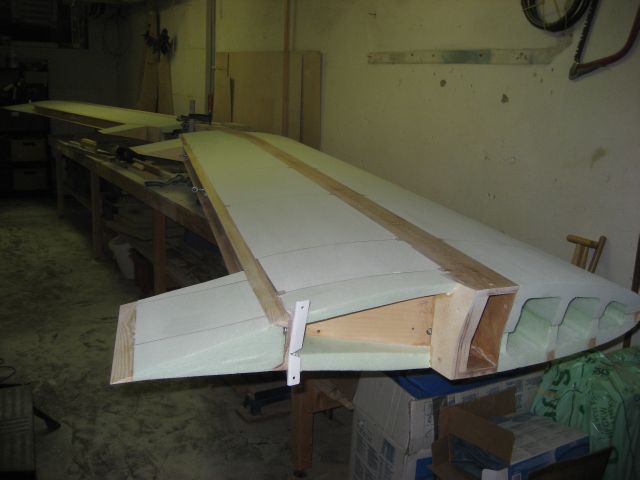
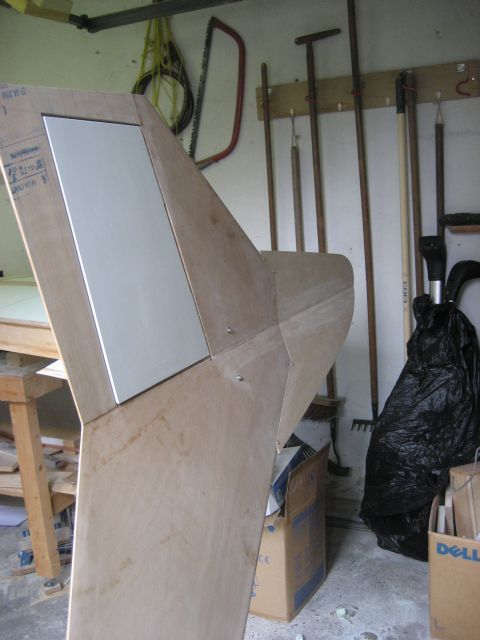
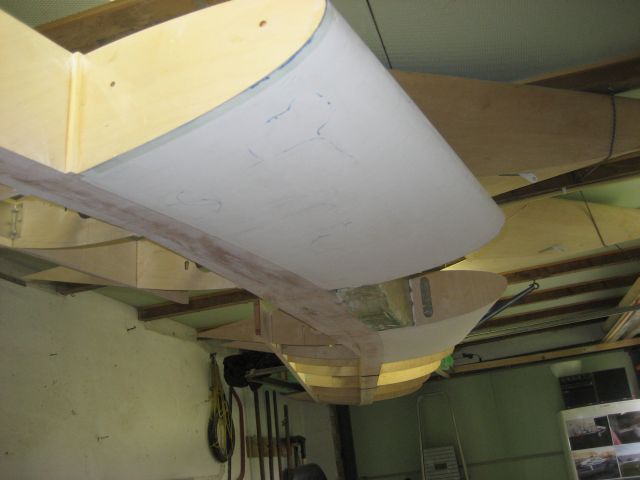
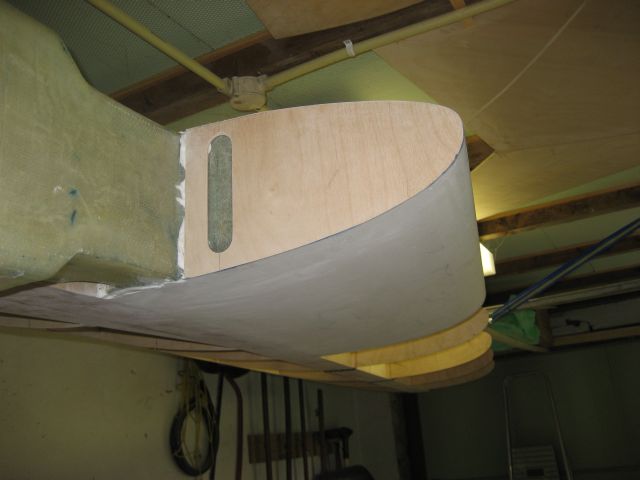
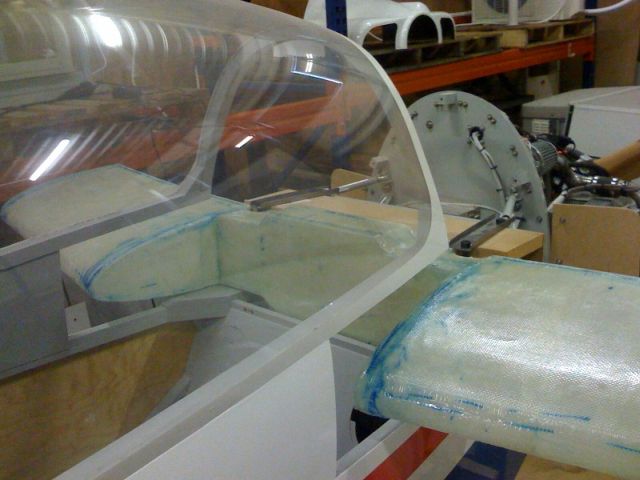
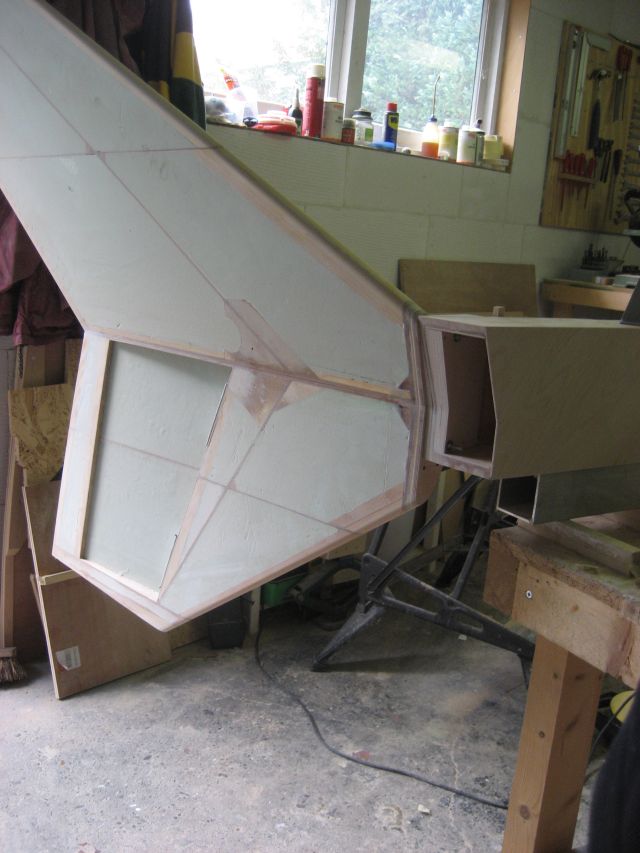
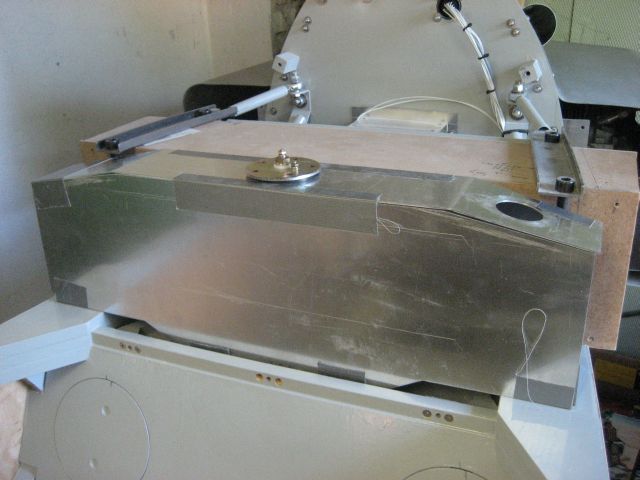
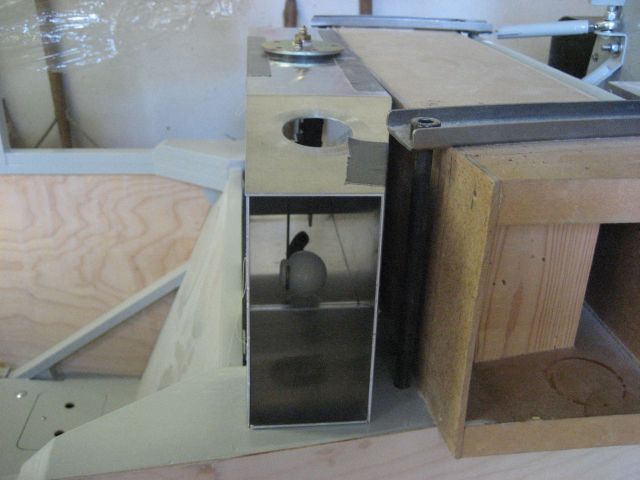
20 -11-2009 mainwing to cowling transision |
20 -11-2009 mainwing to cowling transision |
 |
 |
|
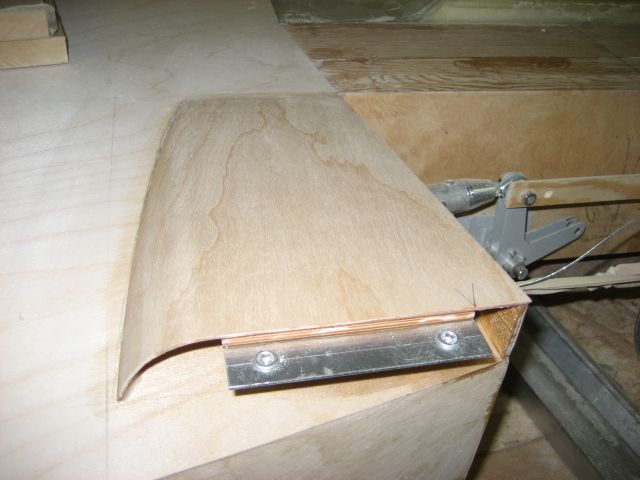
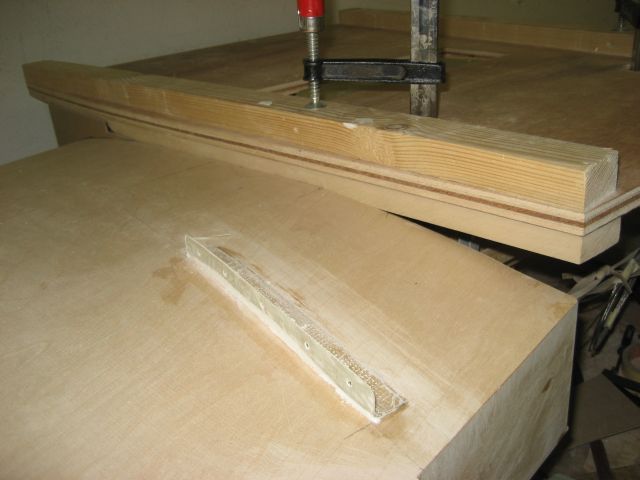
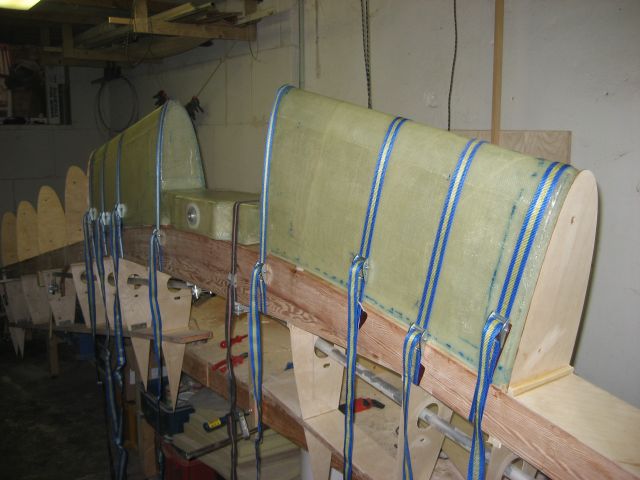
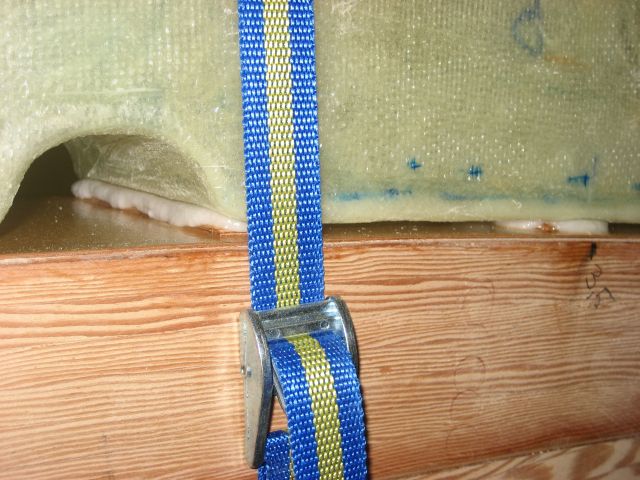
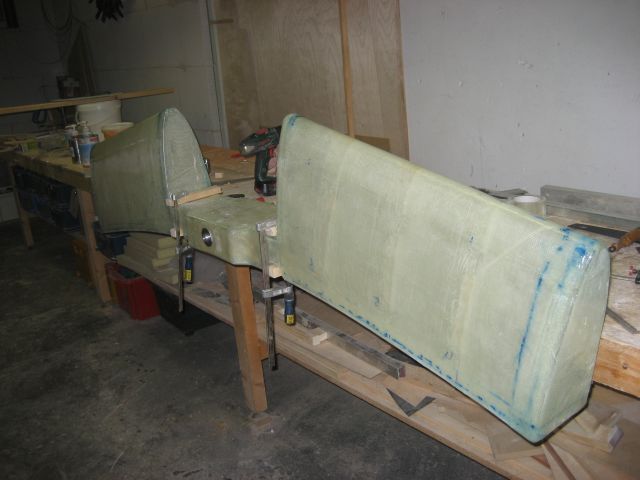
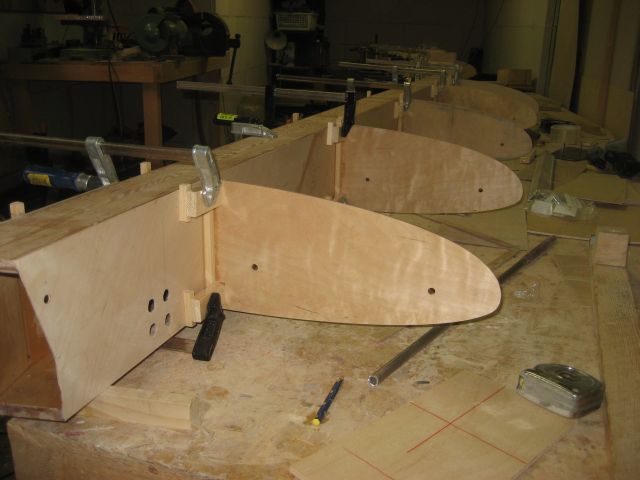
14 -11-2009 bondo applied on starboard upper side |
14 -11-2009 fairings bonded to stabilizer on port
upper side |
 |
|
|
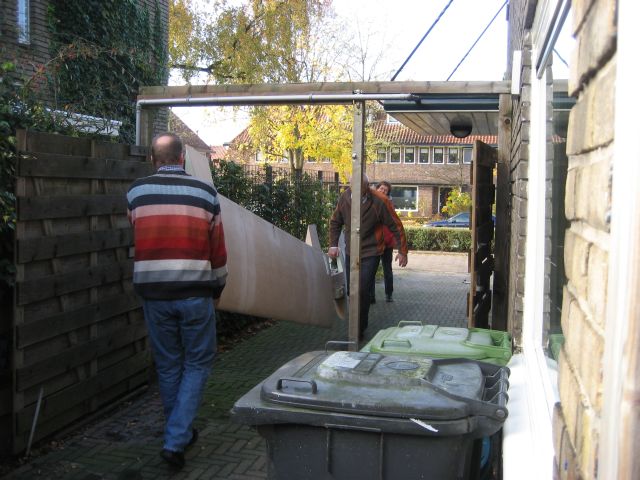
13 -11-2009 To flip the wing upside down, we have to turn
it outside the workshop, on the road. |
|
 |
 |
|
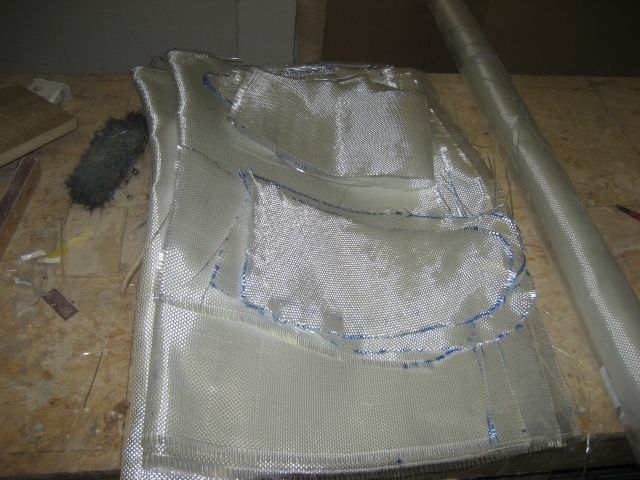
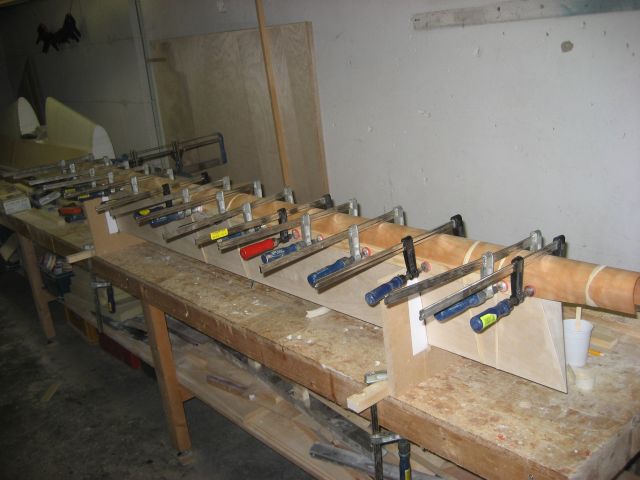
30-10-2009 fairing construction, first tape on the
wood, second bondo in the required shape, third tape again, fourth putting
glass and epoxy on it. afterwards trimming of the part. (front part is
already trimmed) |
30-10-2009 fairing construction, |
 |
 |
|
30-10-2009 detail on the inspection holes |
30-10-2009 detail on the inspection holes (all are
done) |
 |
 |
|
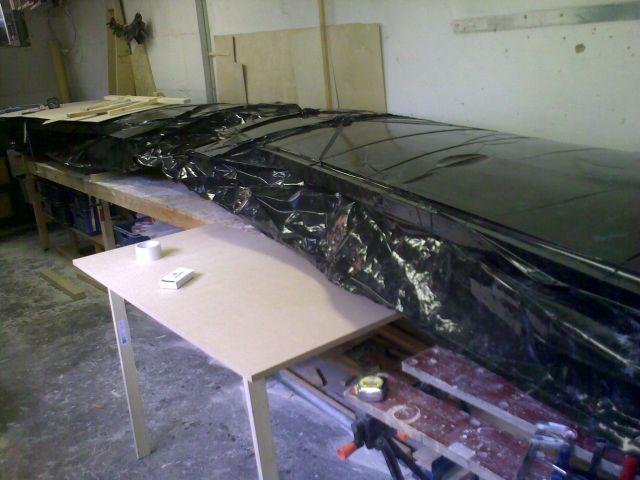
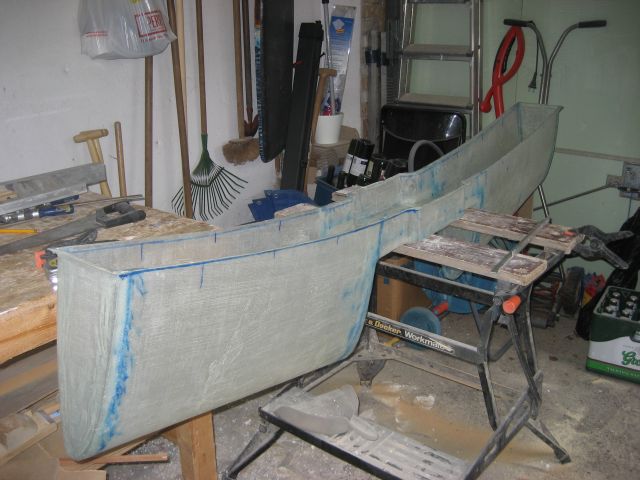
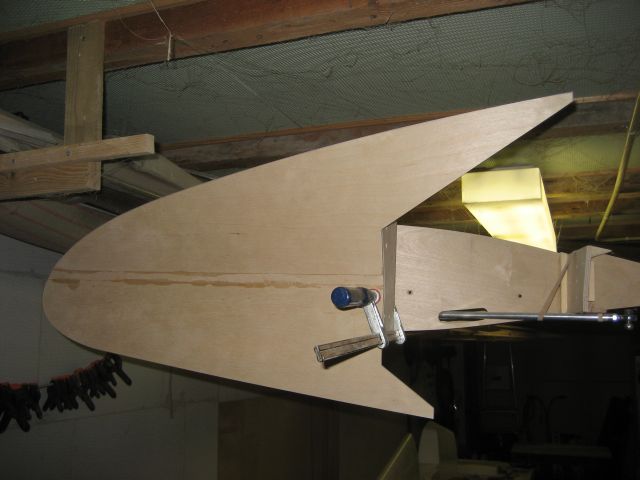
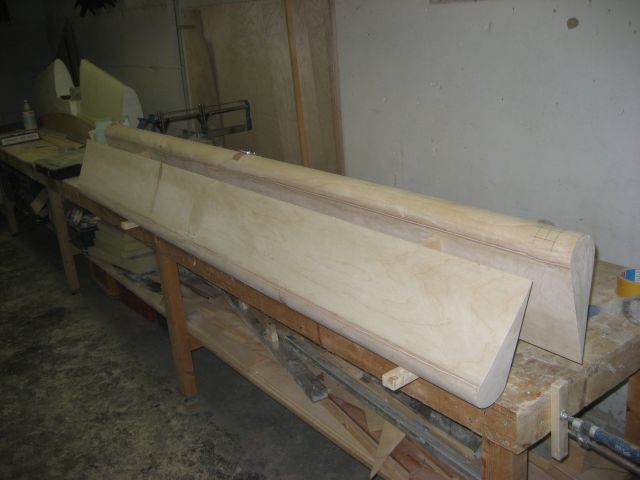
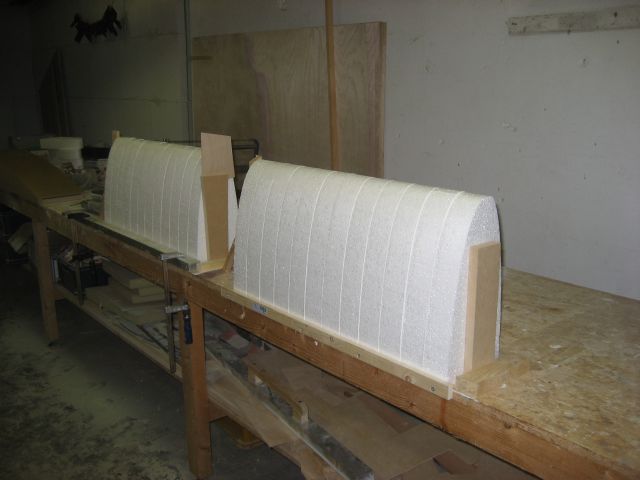
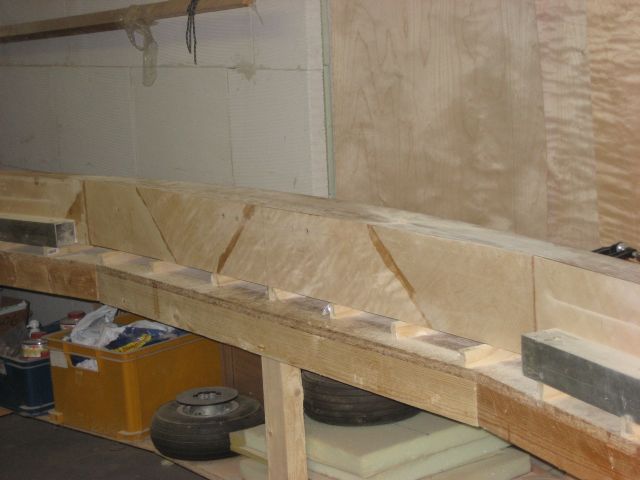
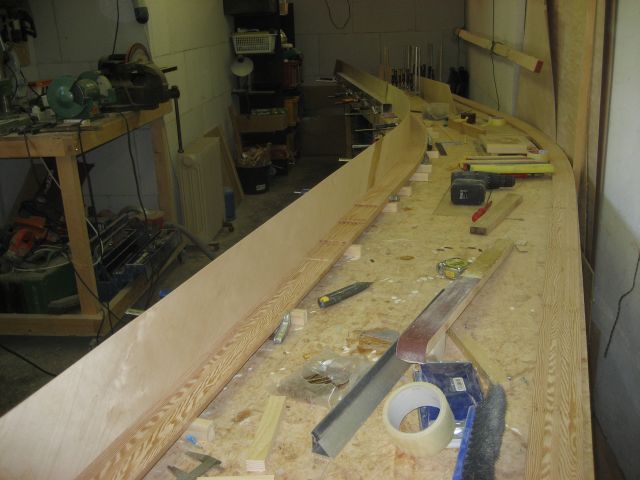
30-10-2009 Mainwing is fully covered. I am now bussy with
the trimming of the ply, and all sort of small things. |
30-10-2009 Dummy of my fuselage, and the
attachement of the air-intake (fibreglass) |
 |
 |
|
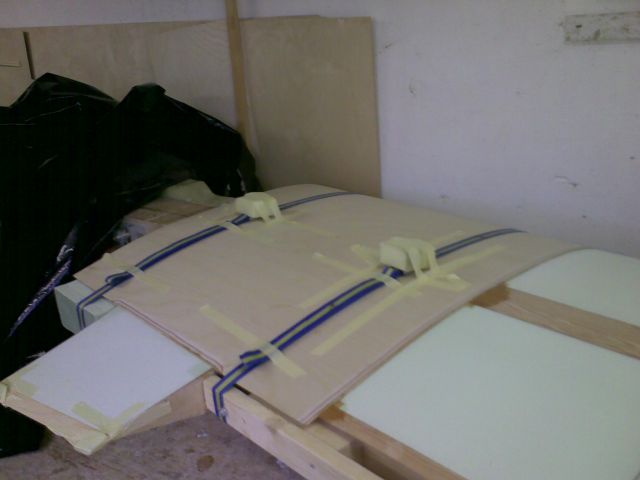
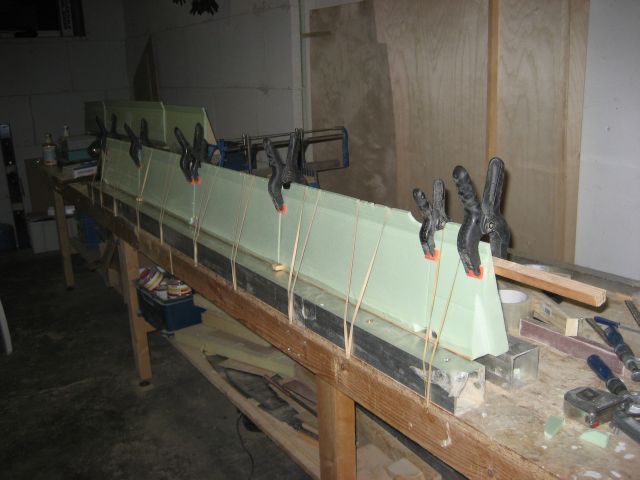
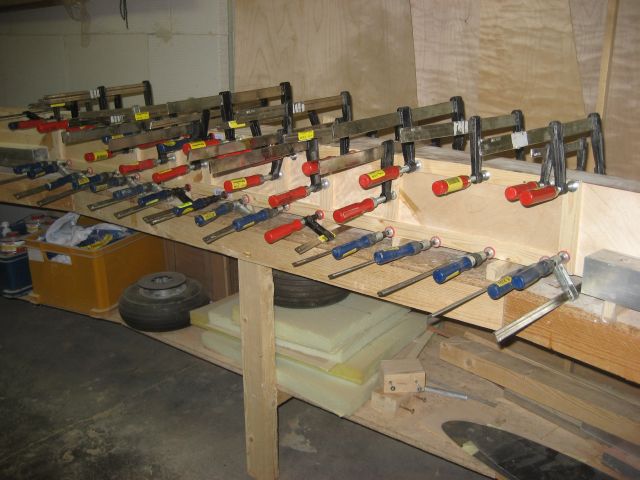
20-9-2009 First skin sheet bonded and bag setup for
vacuum |
20-9-2009 Inside pressure 1700 ft! |
 |
 |
| 24-8-2009 All sanding done!!!!
setting up for skin glueing |
20-9-2009 First skin sheet bonded to the surface |
 |
 |
| 9-8-2009 Returned from
holiday, with update on current status. Starboard side all foam
glueing is ready. The vertical stabilizer is adjusted and ready for getting
some fearings after the wing is skinned. Now beginning with thw same
work on the port side. |
9-8-2009 Returned from holiday, with update on
current status. Starboard side all foam glueing is ready. The vertical
stabilizer is adjusted and ready for getting some fearings after the wing is
skinned. Now beginning with thw same work on the port side. |
 |
 |
| 6-6-2009 D section all foam
glued in and sanded |
6-6-2009 Start to glue the foam parts in the center
section. all controls has to move free. I desided to glue first the top
sections. |
 |
 |
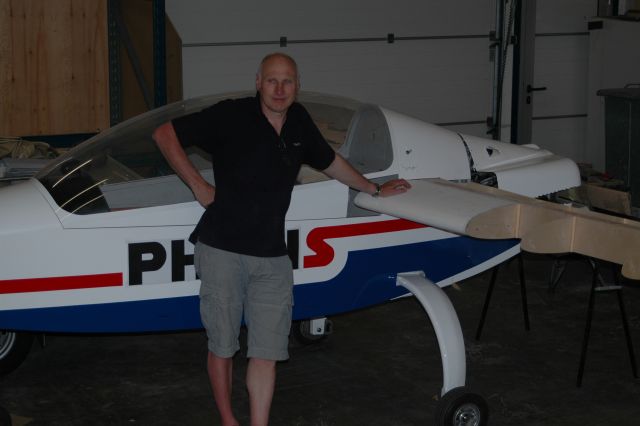
| 25-5-2009 It fitted very well
;-) adapted the luggage compartment to the wing and made
the controll rods to the disired length. It realy start to look like a plane. |
29-5-2009 Start to glue the first foam parts. |
 |
 |
| 21-5-2009 I start cutting the foam. all
leading edge parts done. I made the shape 1mm bigger as the wing shape. this
is sanded off after glueing. |
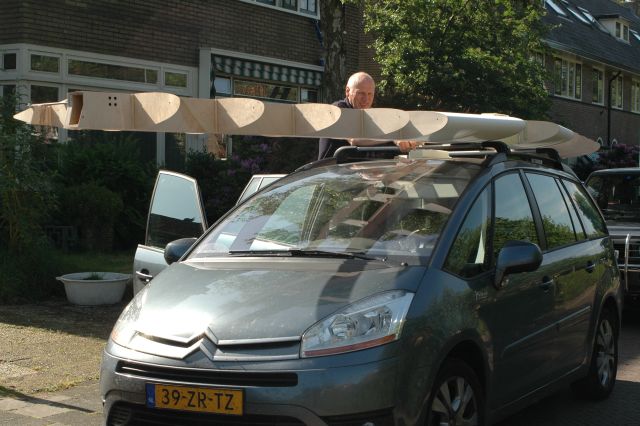
25-5-2009 I took my wing to the fuselage storage to try
the fit. First it has to travel for 40km on the roof of my car. Hans
Zwakenberg assisted me the whole day, tnx Hans |
 |
 |
| 21-5-2009 Surface of fueltank filled with
micro and sanded to the wing shape |
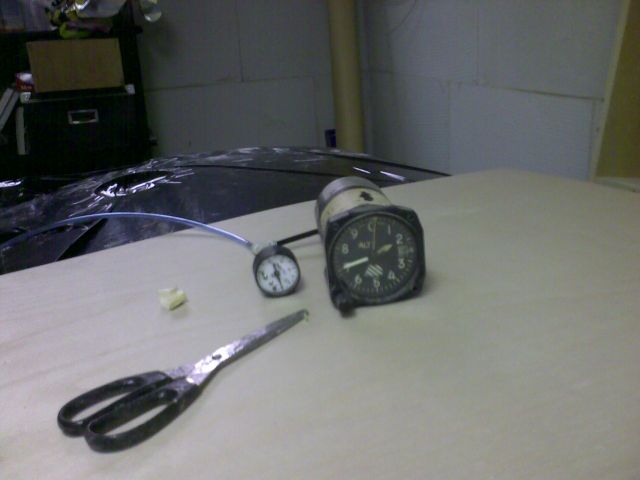
21-5-2009 Surface of fueltank filled with micro and
sanded to the wing shape note my simple fuel indicator. |
 |
 |
| 18-4-2009 Bonded the tank to the spar
with flox and wood shims. |
18-4-2009 Detail on the fixation. (12 in total ). |
 |
 |
| 10-4-2009 Testfit in the fuselage, all
seems to be within the contours! |
17-4-2009 Test the tank on leakage, used a special leak
tester. I also filled it up with water. It can hold 65 litre |
 |
 |
|
2-3-2009 Renforcements plates ready, laminating to go |
10-4-2009 Fueltank nearly finished. fuelcap and line
connections to go |
 |
 |
|
28-2-2009 Outer skin of fuel tank. |
28-2-2009 Back side and the blanks for the reinforcement
on the inside of the tank. |
 |
 |
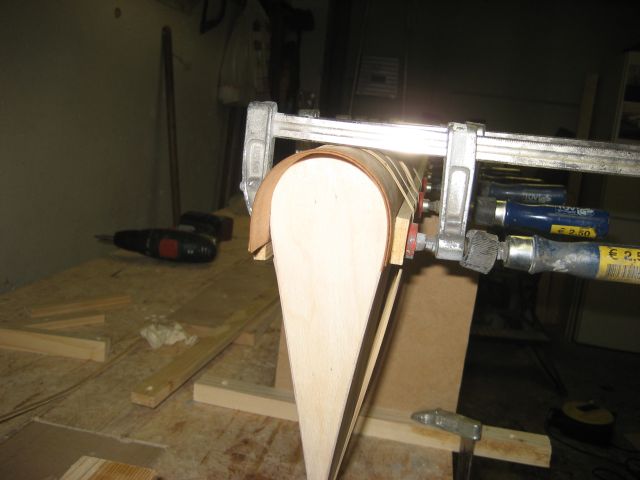
| 8-2-2009 Testfit the vertical stabilizer
front section |
8-2-2009 First glass roving cut for tank. laminating
after winter holliday |
 |
 |
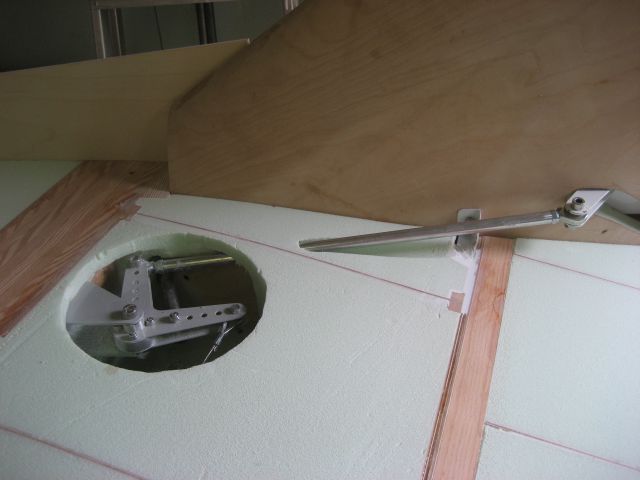
| 1-2-2009 Starting to make the holes for
the hinges. We should see later if they are big enough to mout the ailerons
to the wings |
8-2-2009 Glueing the vertical stabilizer front section |
 |
 |
| 26-1-2009 Forming the D section. plywood
is drying for one day |
1-2-2009 Both ailerons covered and sanded. |
 |
 |
| 22-1-2009 Vacuum setup to glue the
aileron skin, sandbags to keep it flat |
26-1-2009 Forming the D section. plywood is drying for
one day |
 |
 |
| 9-1-2009 Last PS part bonded to the mould.
some sanding and taping to do. see wolfgang's project
http://www.pik-26.de/Bautagebuch_august_2007.html |
22-1-2009 Vacuum setup to glue the aileron skin |
 |
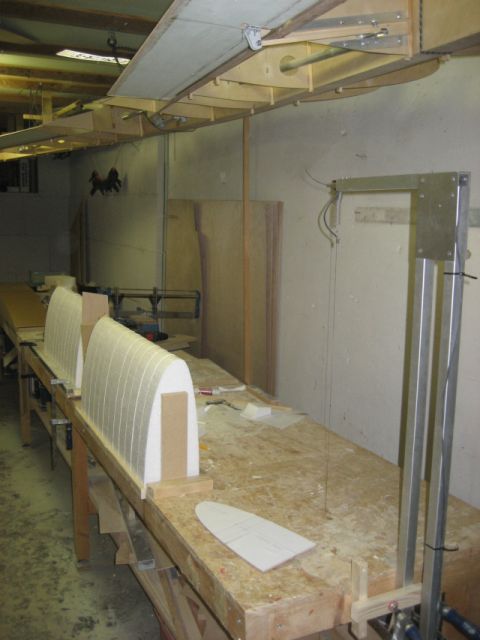 |
| 5-1-2009 Made a mdf model of the spar, to
have a base for the mould |
5-1-2009 Overview of the current workshop layout. Wing is
hanging on the ceiling, hotwire setup and PS mould forms clamped together |
 |
 |
| 3-1-2009 Both ailerons ready for covering |
5-1-2009 I changed plans! Will make a fiberglass fueltank!
Hotwire the first mould parts, and glued together with epoxy |
 |
 |
| 30-12-2008 Aileron foam glueing. D
section |
30-12-2008 Aileron foam glueing. D section |
 |
 |
| 27-12-2008 testfit on wing |
27-12-2008 testfit on wing |
 |
 |
| 20-12-2008 Aileron foam glueing. keep it
straight with a wooden bar |
23-12-2008 D section ribs glued with rubber band
positioning |
 |
 |
| 20-12-2008 Aileron foam glueing. first
foam on mainwing |
20-12-2008 Aileron foam glueing. detail on rubber bands |
 |
|
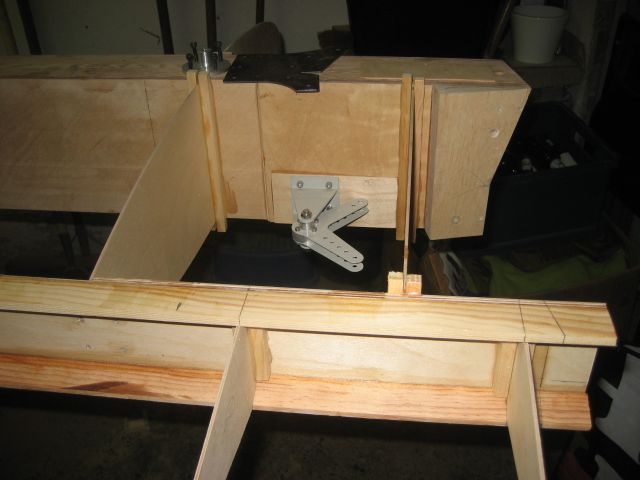
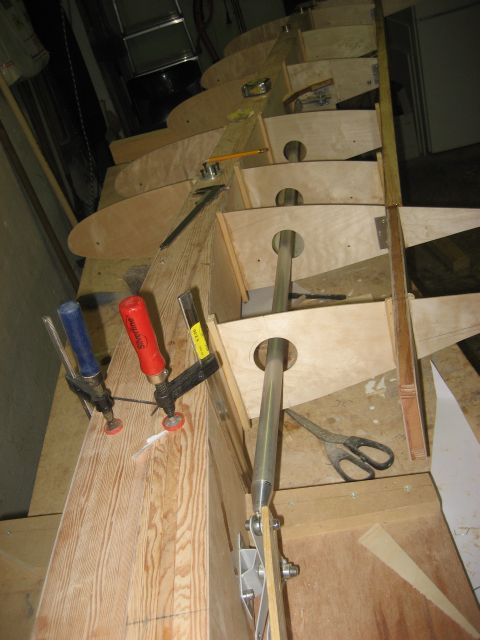
| 20-10-2008 Nearly all ribs and woodwork
glued to the spar, start rigging the aileron controls and rudder bellcrank |
|
 |
 |
| 20-10-2008 Nearly all ribs and woodwork
glued to the spar, start rigging the aileron controls and rudder bellcrank |
20-10-2008 Nearly all ribs and woodwork glued to the
spar, start rigging the aileron controls and rudder bellcrank |
 |
 |
| 31-08-2008 First ribs on main spar,
preparing new ribs |
20-10-2008 Nearly all ribs and woodwork glued to the
spar, start rigging the aileron controls and rudder bellcrank |
 |
 |
| 31-08-2008 First ribs on main spar. |
31-08-2008 First ribs on main spar, detail on clamping |
 |
 |
| 13-08-2008 Mating the brackets. some
filing to get it fit. |
13-08-2008 Back from summer
holliday! Started to make the vertical stabilizer connection to the spar |
 |
 |
| 13-08-2008 Back from summer holliday!
Started to make the vertical stabilizer connection to the spar |
13-08-2008 Back from summer
holliday! Started to make the vertical stabilizer connection to the spar |
 |
 |
| 07-07-2008 result after closing |
07-07-2008 result after closing |
 |
 |
| 04-07-2008 Closing the spar reinforcement |
04-07-2008 Did not forget the flapperon control brackets |
 |
 |
| 02-07-2008 Mating the webs to the spar reinforcement |
02-07-2008 Prepairing the webs. |
 |
 |
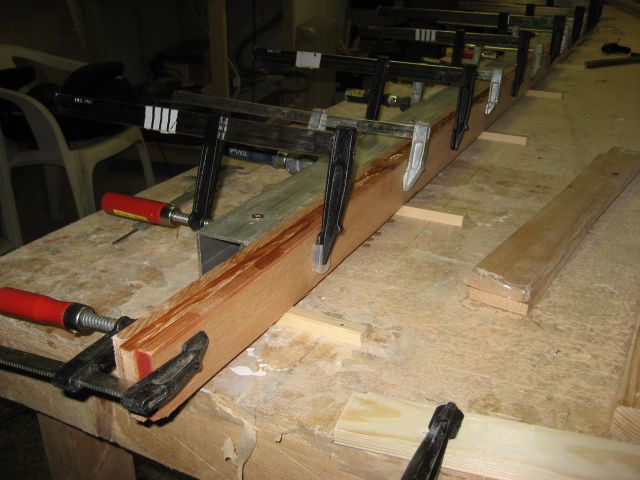
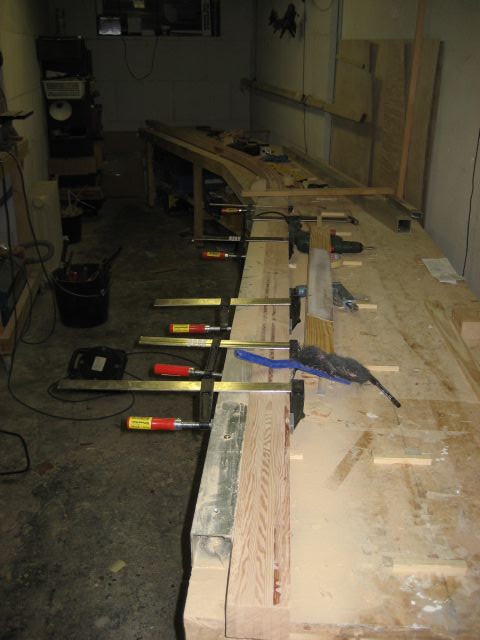
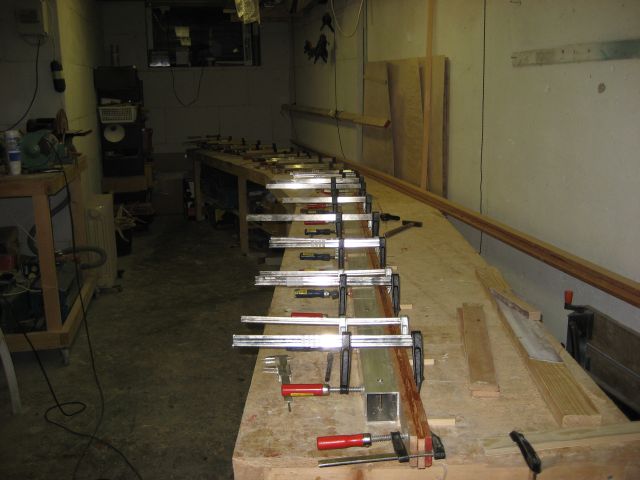
| 21-06-2008 Result! cap in place |
21-06-2008 Closing the mainspar using 65 clamps |
 |
 |
| 24-05-2008 Setting up mainspar assembly
jig |
24-05-2008 Setting up
mainspar assembly jig |
 |
 |
| 24-05-2008 Glueing and clamping 45gr
plywood webs |
24-05-2008 Glueing and
clamping 45gr plywood webs |
 |
 |
| 24-05-2008 Scarfing 45gr plywood webs |
24-05-2008 Glueing and
clamping 45gr plywood webs |
 |
 |
| 19-04-2008 Planing the caps with my
router. I do not have a planing machine, This takes a lot more time, but
it wil do the job. |
19-04-2008 Planing the caps
with my router. I do not have a planing machine, This takes a lot more
time, but it wil do the job. |
 |
 |
| 19-04-2008 Also sanded the other side
square, Afterwards I sawed the 2 caps by hand. It took me 4 hours of
sawing. (realy "elbow grease") |
19-04-2008 after 4 hours
sawing, upper and lower cap! |
 |
 |
| 01-04-2008 Spar glued together, it has
not worked out that well. This is what hapened on one end! I have to
sand it square again. going back to 49mm on the most worse situation.
Leaving only 8mm for planing and sawing |
01-04-2008 Sanding it square
on one side. (other side on the planer) a lot of elbow grease.
Sanding block has only on one halve paper glued to it. Other side is
leaning on the reference tube. The clamps keeping the front side square to
the table. |
 |
 |
| 18-3-2008 first battens laminated on spar
mold, yes there is some tape on the spacers |
01-04-2008 Spar glued
together, it has not worked out that well. |
 |
 |
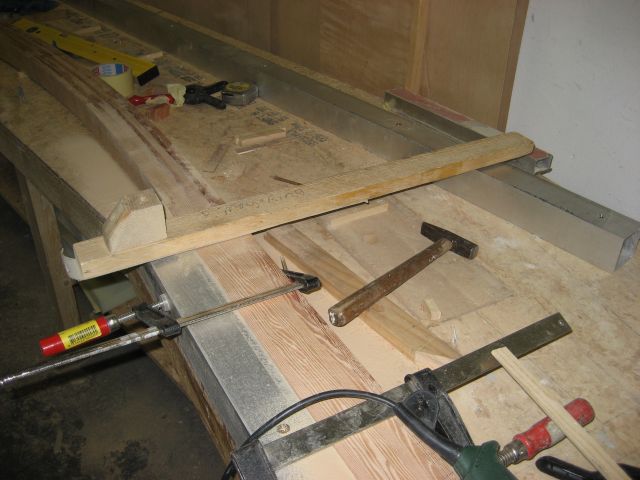
| 9-3-2008 Some finished scarfs. |
18-3-2008 first battens
laminated on spar mold |
 |
 |
| 9-3-2008 Full size main wing
construction table. I used my old table with an extra angeled center
section. Spar battens lying on top. |
9-3-2008 Sanding the scarf
in spar battens. |
 |
|
| 25-08-07 Center section of the fueltank.
cut some alu panels. skipped the fiberglass option. |
25-08-07 Center section of
the fueltank. cut some alu panels. skipped the fiberglass option. (fuel
sender in center) |
|
|
|
|
|
|
|
|
|
|